
What this is for. Five short missions take you from a new account to a real sale and a refund. Each one ends with something working, and you can stop between them. Most shops finish in about an hour.
Before you start: sign up and get approved
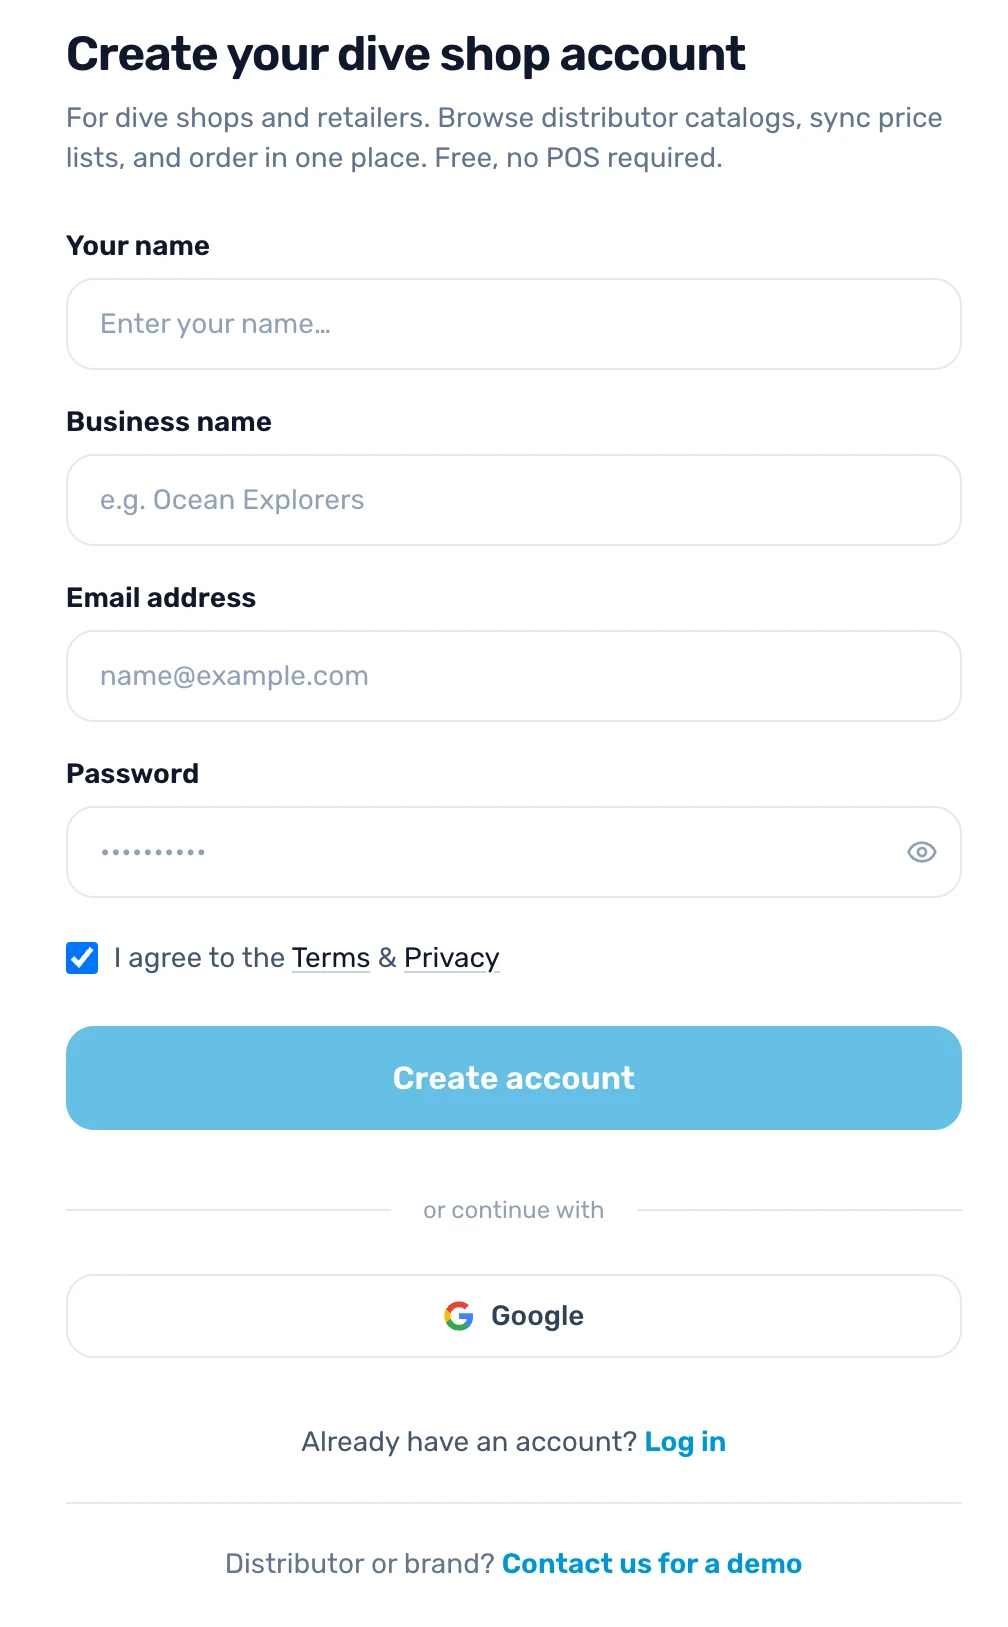
Sign up at onediveb2b.com/join with your name, your shop's name, your email and a password, then confirm the email we send. Tell us about your shop and choose a plan; you can start on Free.
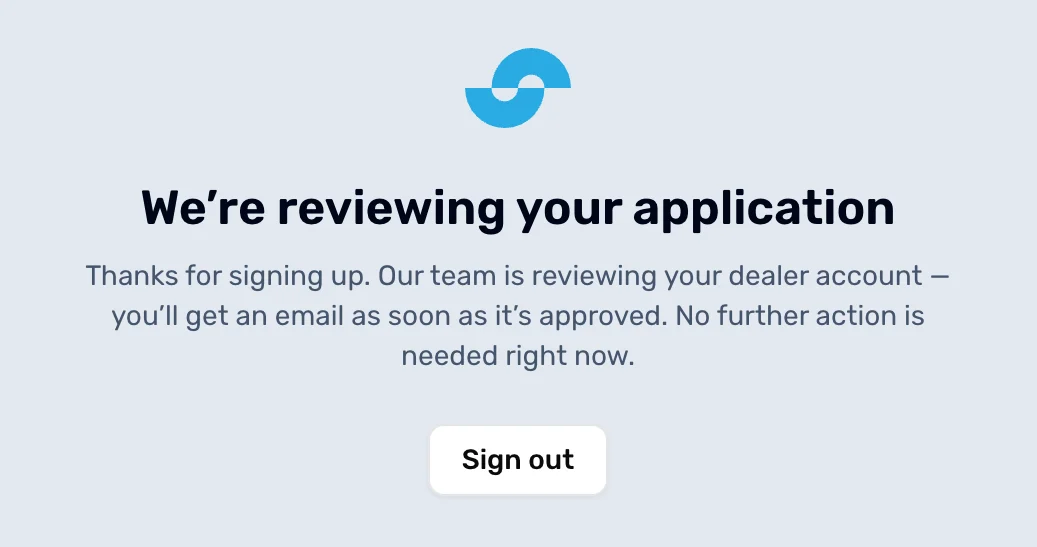
OneDive checks every new shop before it can sell. You get an email when yours is approved. Until then, the register says Your register isn't enabled yet. That is the review, and nothing is wrong.
Open Setup
Once you are approved, open the register. The first time, it takes you to Setup: seven things to finish before your first sale. Each mission below ticks some of them. You can leave and come back; the Setup button at the top of the register shows how far you are.
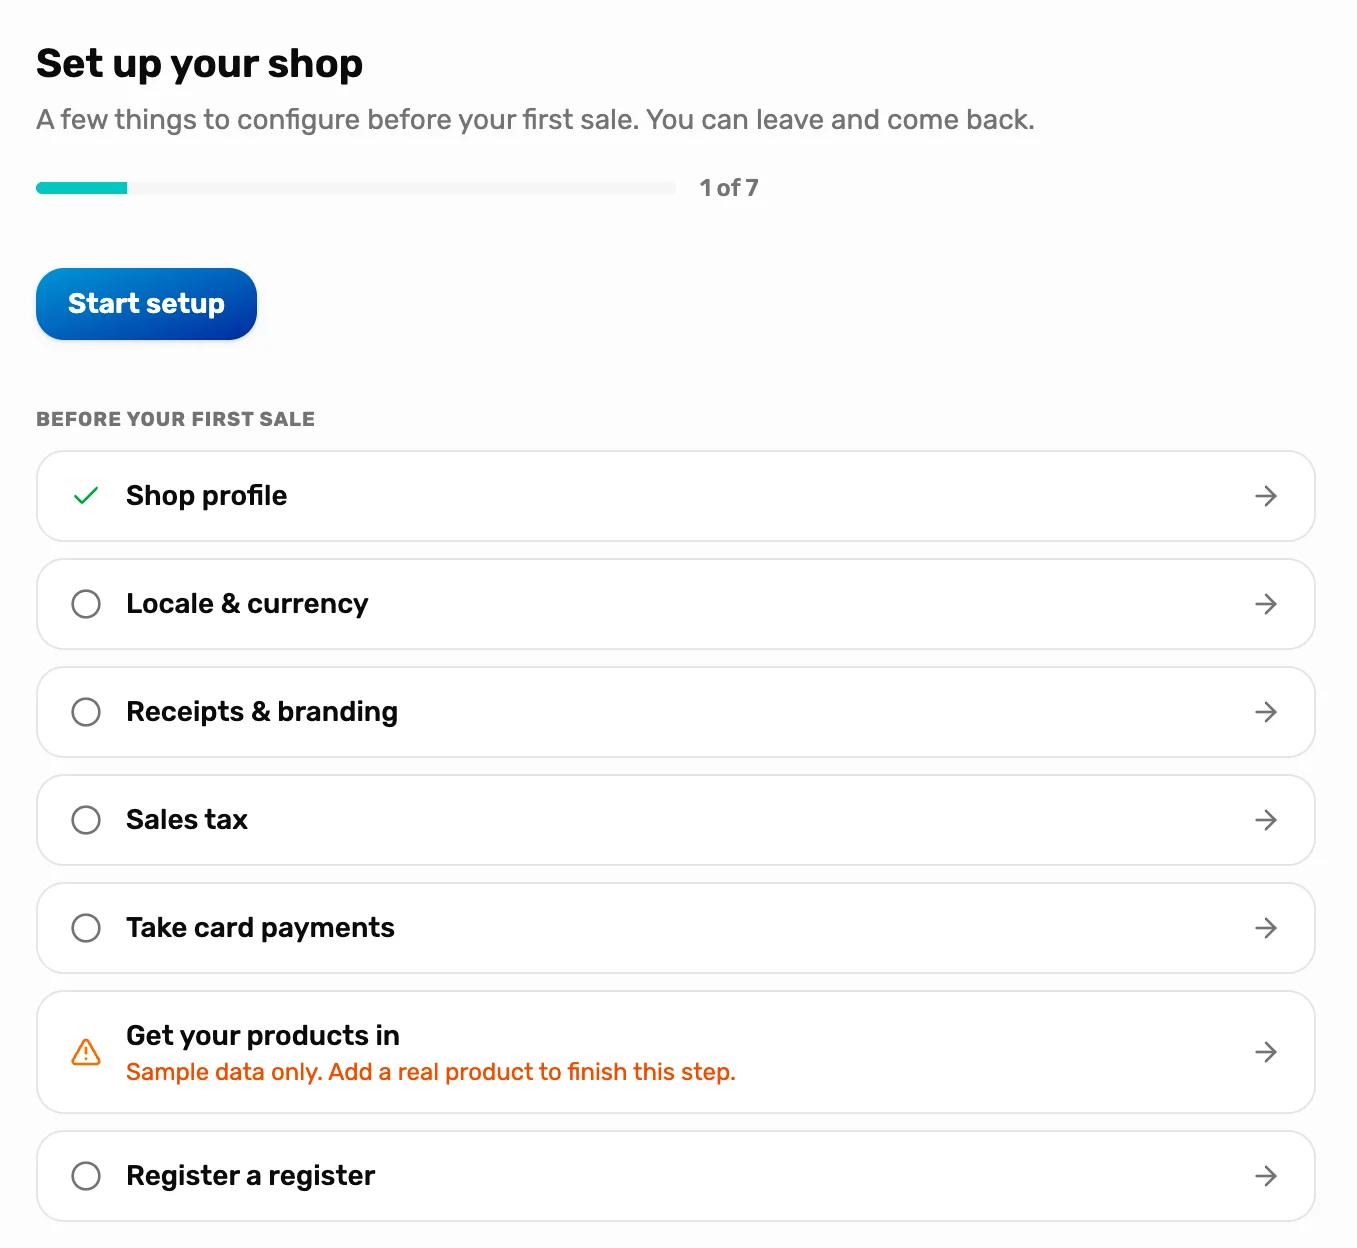
- Progress. Ticked and skipped tasks both count.
- Start setup. Walks through each task in order.
- Before your first sale. Shop profile, locale, receipts, sales tax, card payments, products and this register. Tap any row to jump to it.
Mission 1: Open your doors
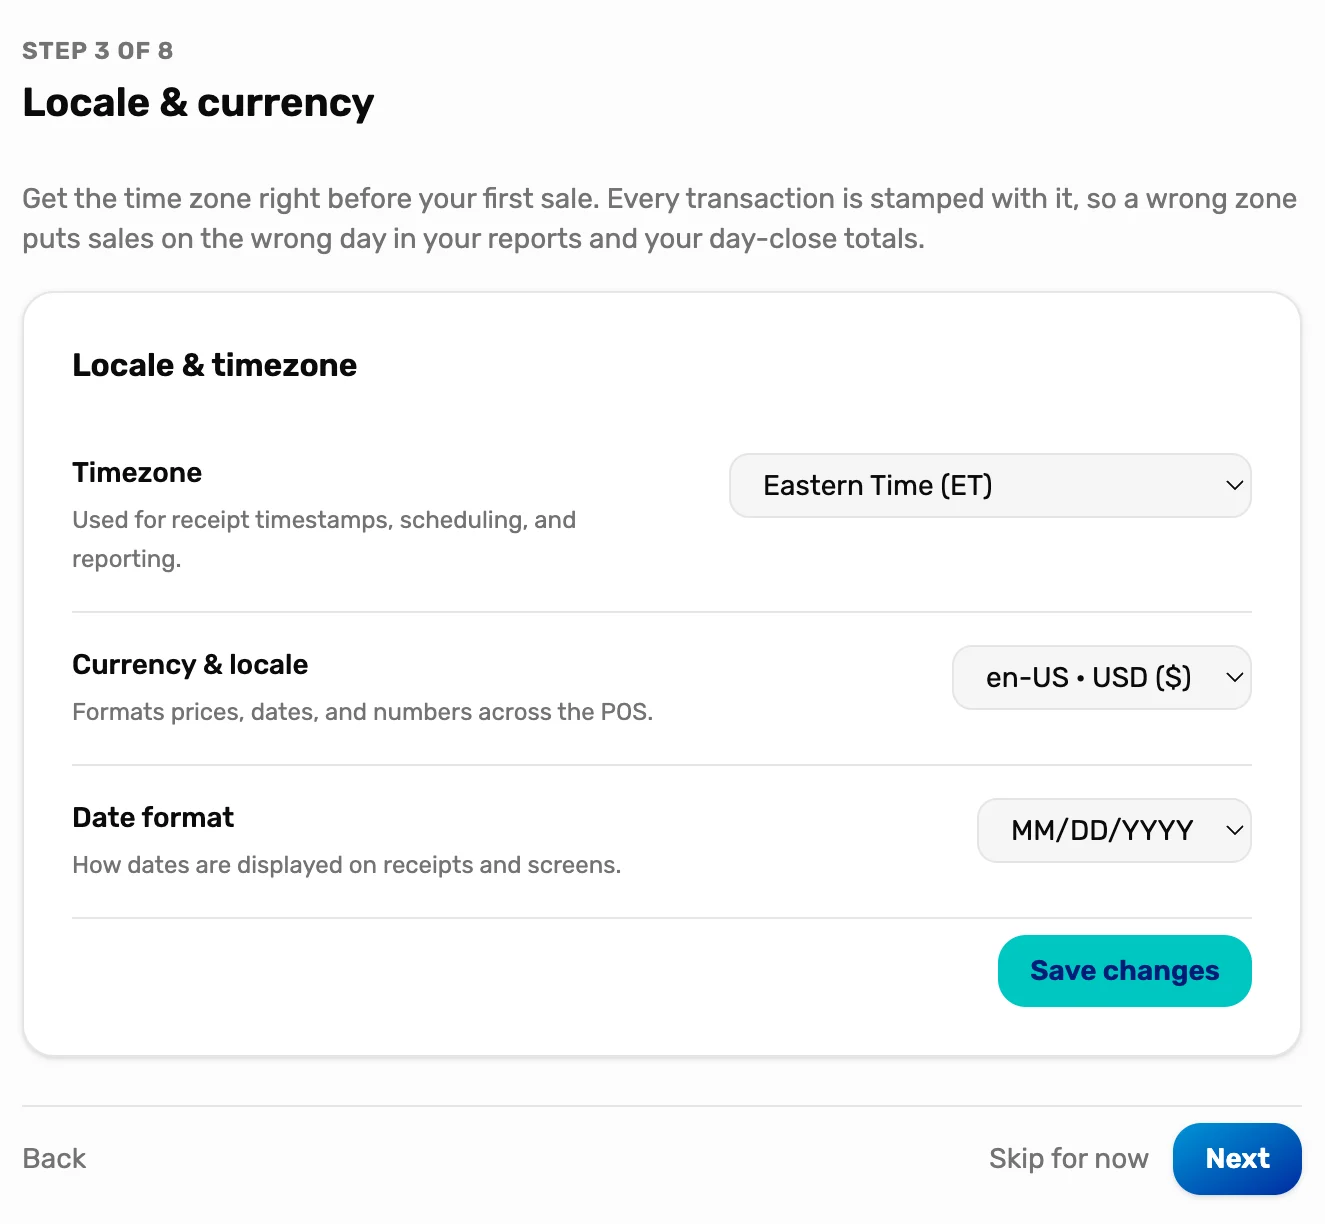
Your shop's name, address and time zone, what prints on a receipt, and your sales tax.
- Shop profile, as customers see it
- Time zone, so sales land on the right day
- Logo and receipt footer
- Each sales tax as its own line
Mission 2: Get paid
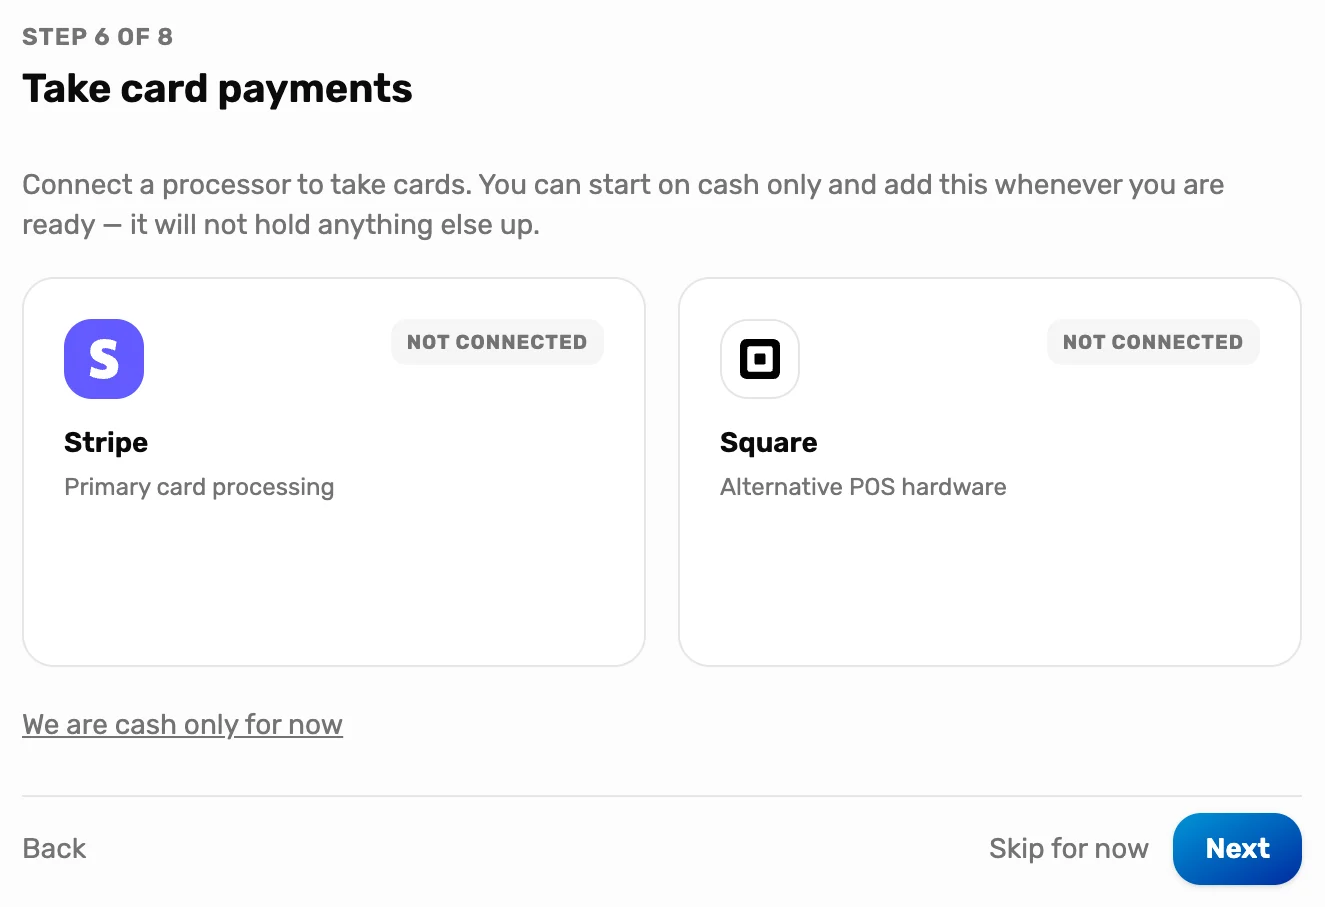
Connect your own Stripe or Square account so the register can charge cards. Or start on cash.
- Connect Stripe or Square
- Check that Charges says Enabled
- Or choose We are cash only for now
Mission 3: Get your products in
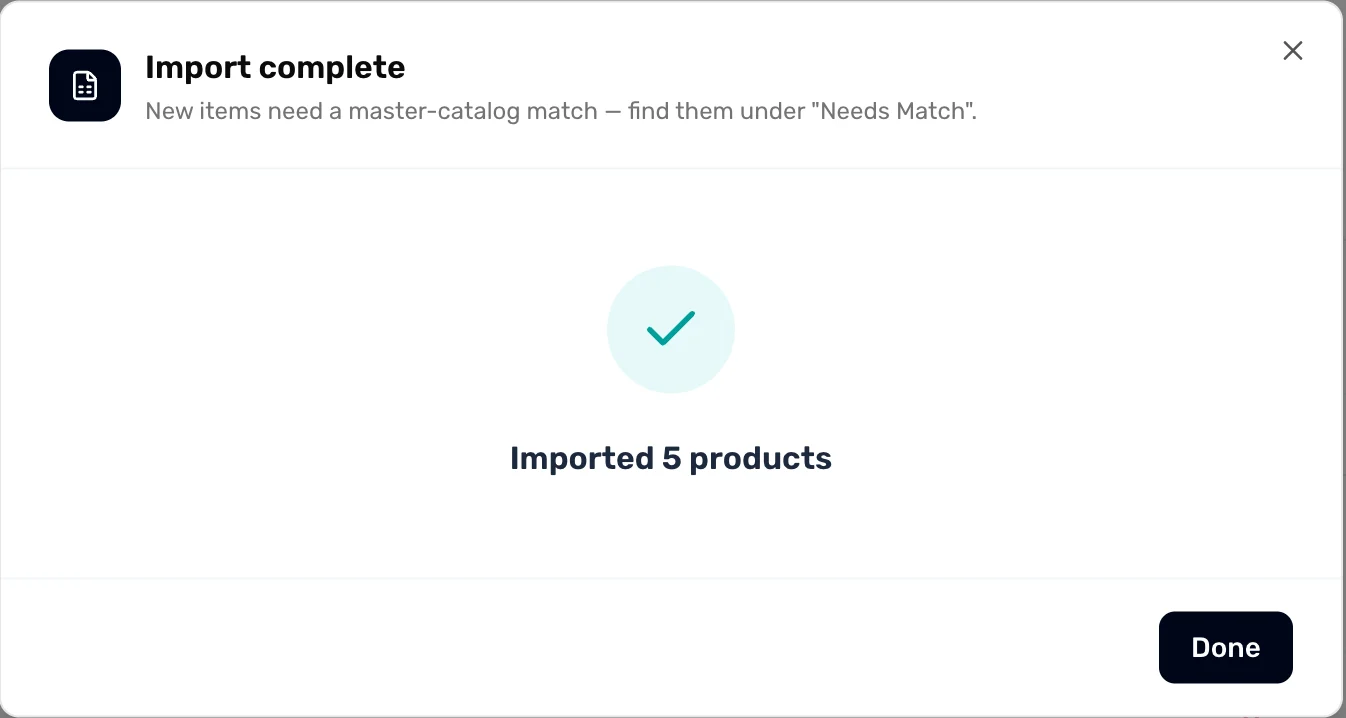
Import a spreadsheet for many products, or add a few by hand.
- Import from a spreadsheet, Shopify or DiveShop 360
- Set how many you have
- Check they are on the register
Mission 4: Set up your counter
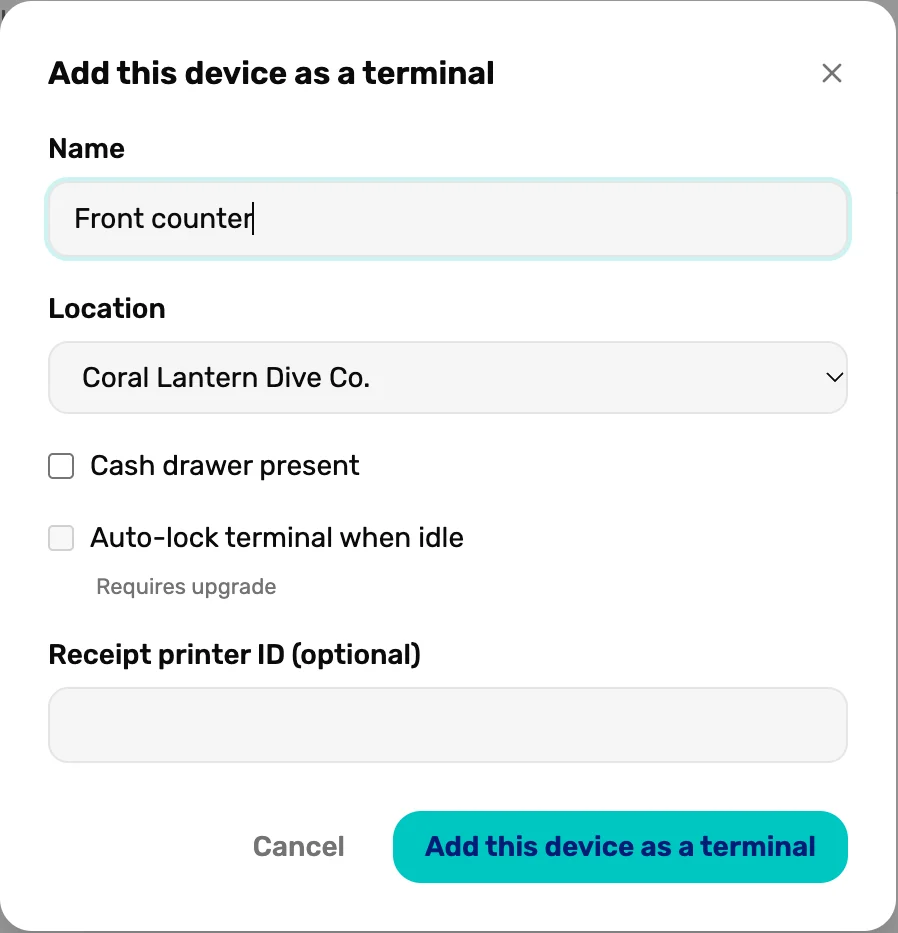
Register this device as a register, so it can hold a cash drawer, print receipts and lock behind a PIN.
- Name this register and pick its location
- Optional: a card reader
- Optional: your team and their PINs (Your team on the floor)
Mission 5: Ring one up and refund it
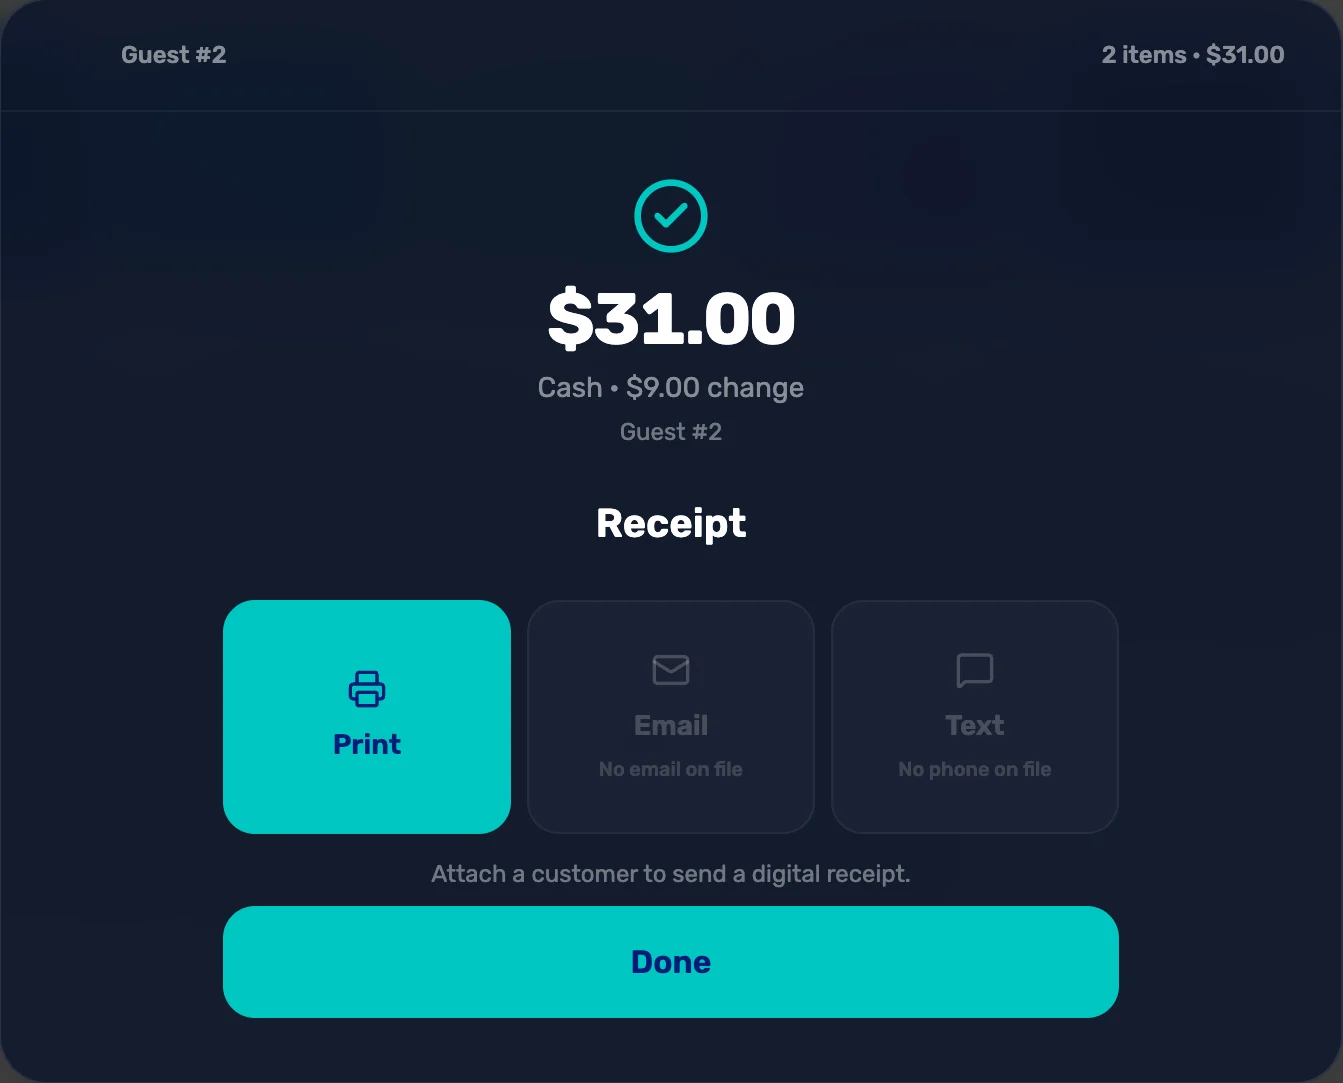
A real sale and a real refund, before a customer is waiting.
- Start a cart and take payment
- Print the receipt
- Refund it from Transactions
When you are done
Setup reads 7 of 7 and the Setup button leaves the top of the register. You are ready to sell.
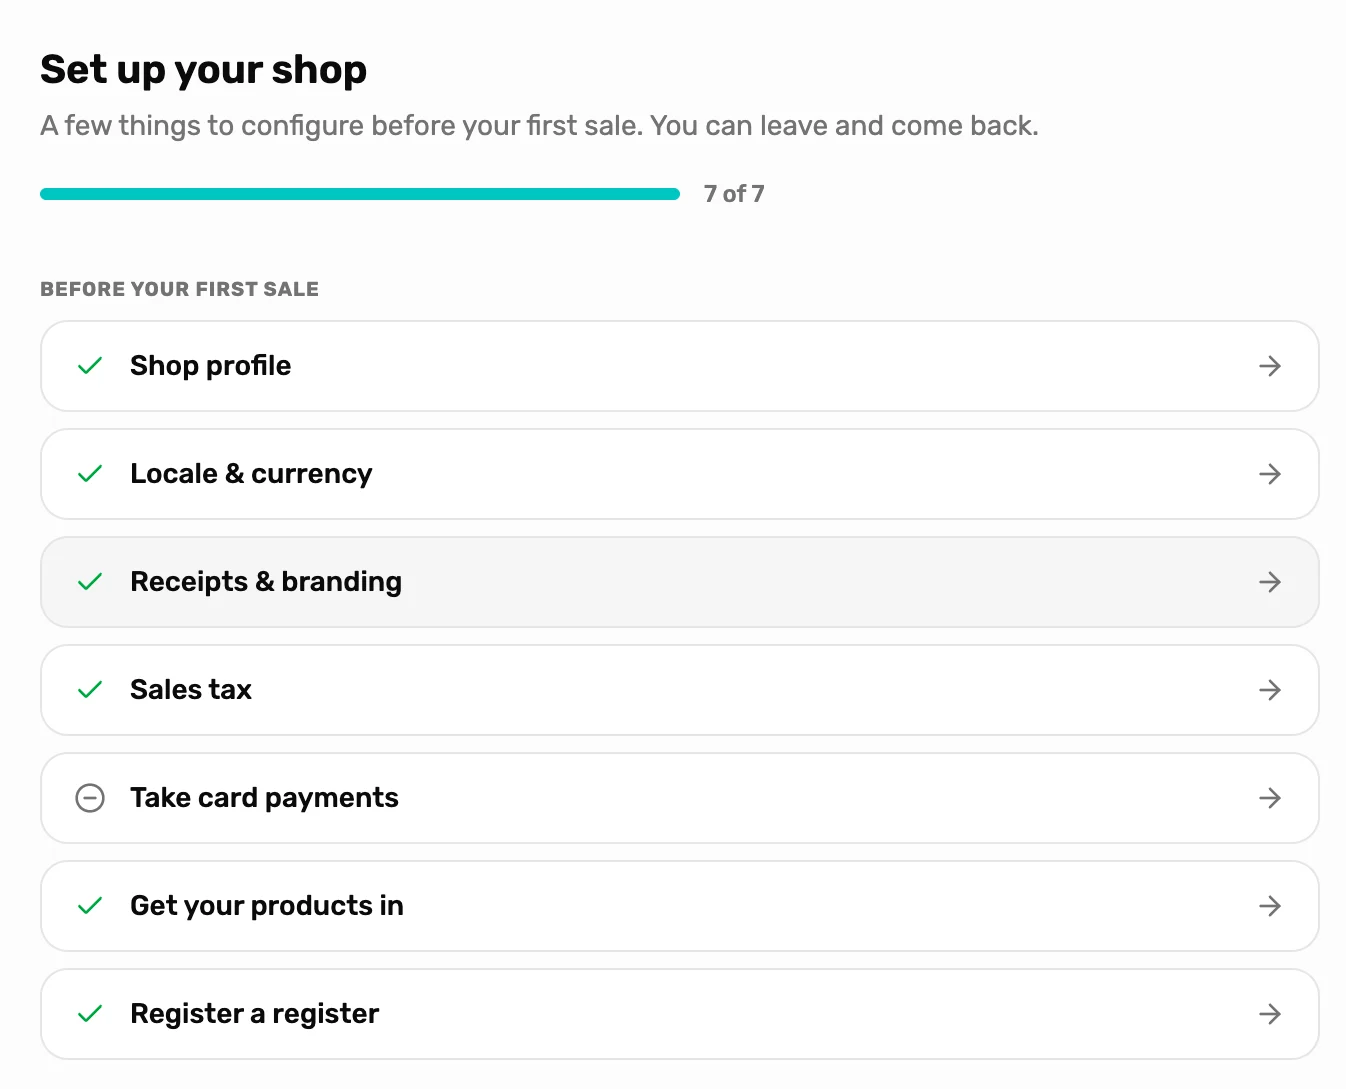
- A tick. Done.
- A dash. Skipped, like Take card payments for a cash-only shop. You can come back to it any time.
- Next campaign: Your team on the floor. Add your staff and their PINs.
- Everything in Setup is also in Settings, if you need to change it later.