
What this is for. Each person on your floor gets their own name and PIN at the register. They switch in with the PIN, so every sale, discount and refund shows who did it, and a manager can approve the bigger ones without logging anyone out.
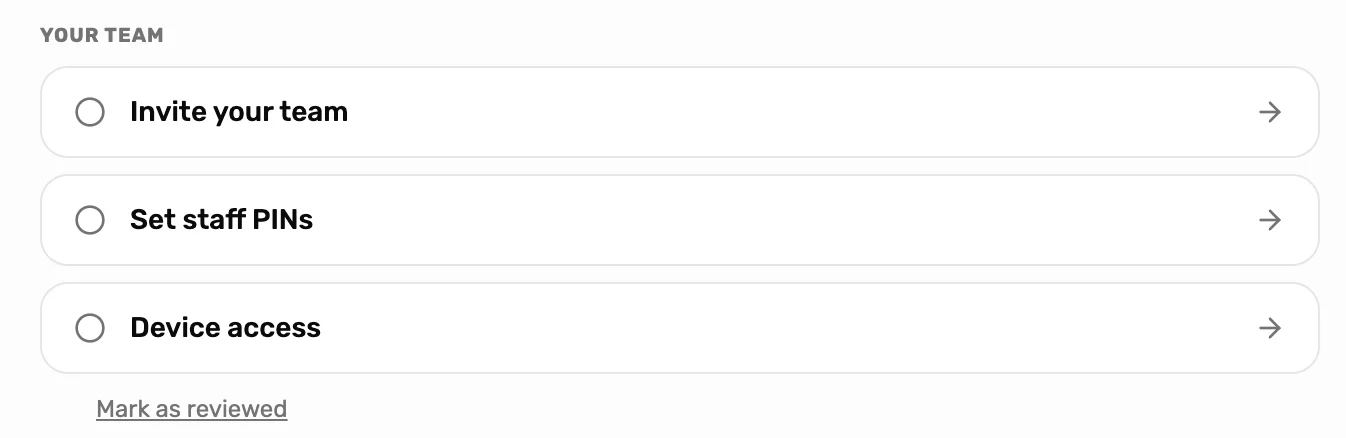
- Your team in Setup. These rows open the same screens as the missions below.
Mission 1: Add your first teammate
Go to Settings › Users & Access and choose Add user.
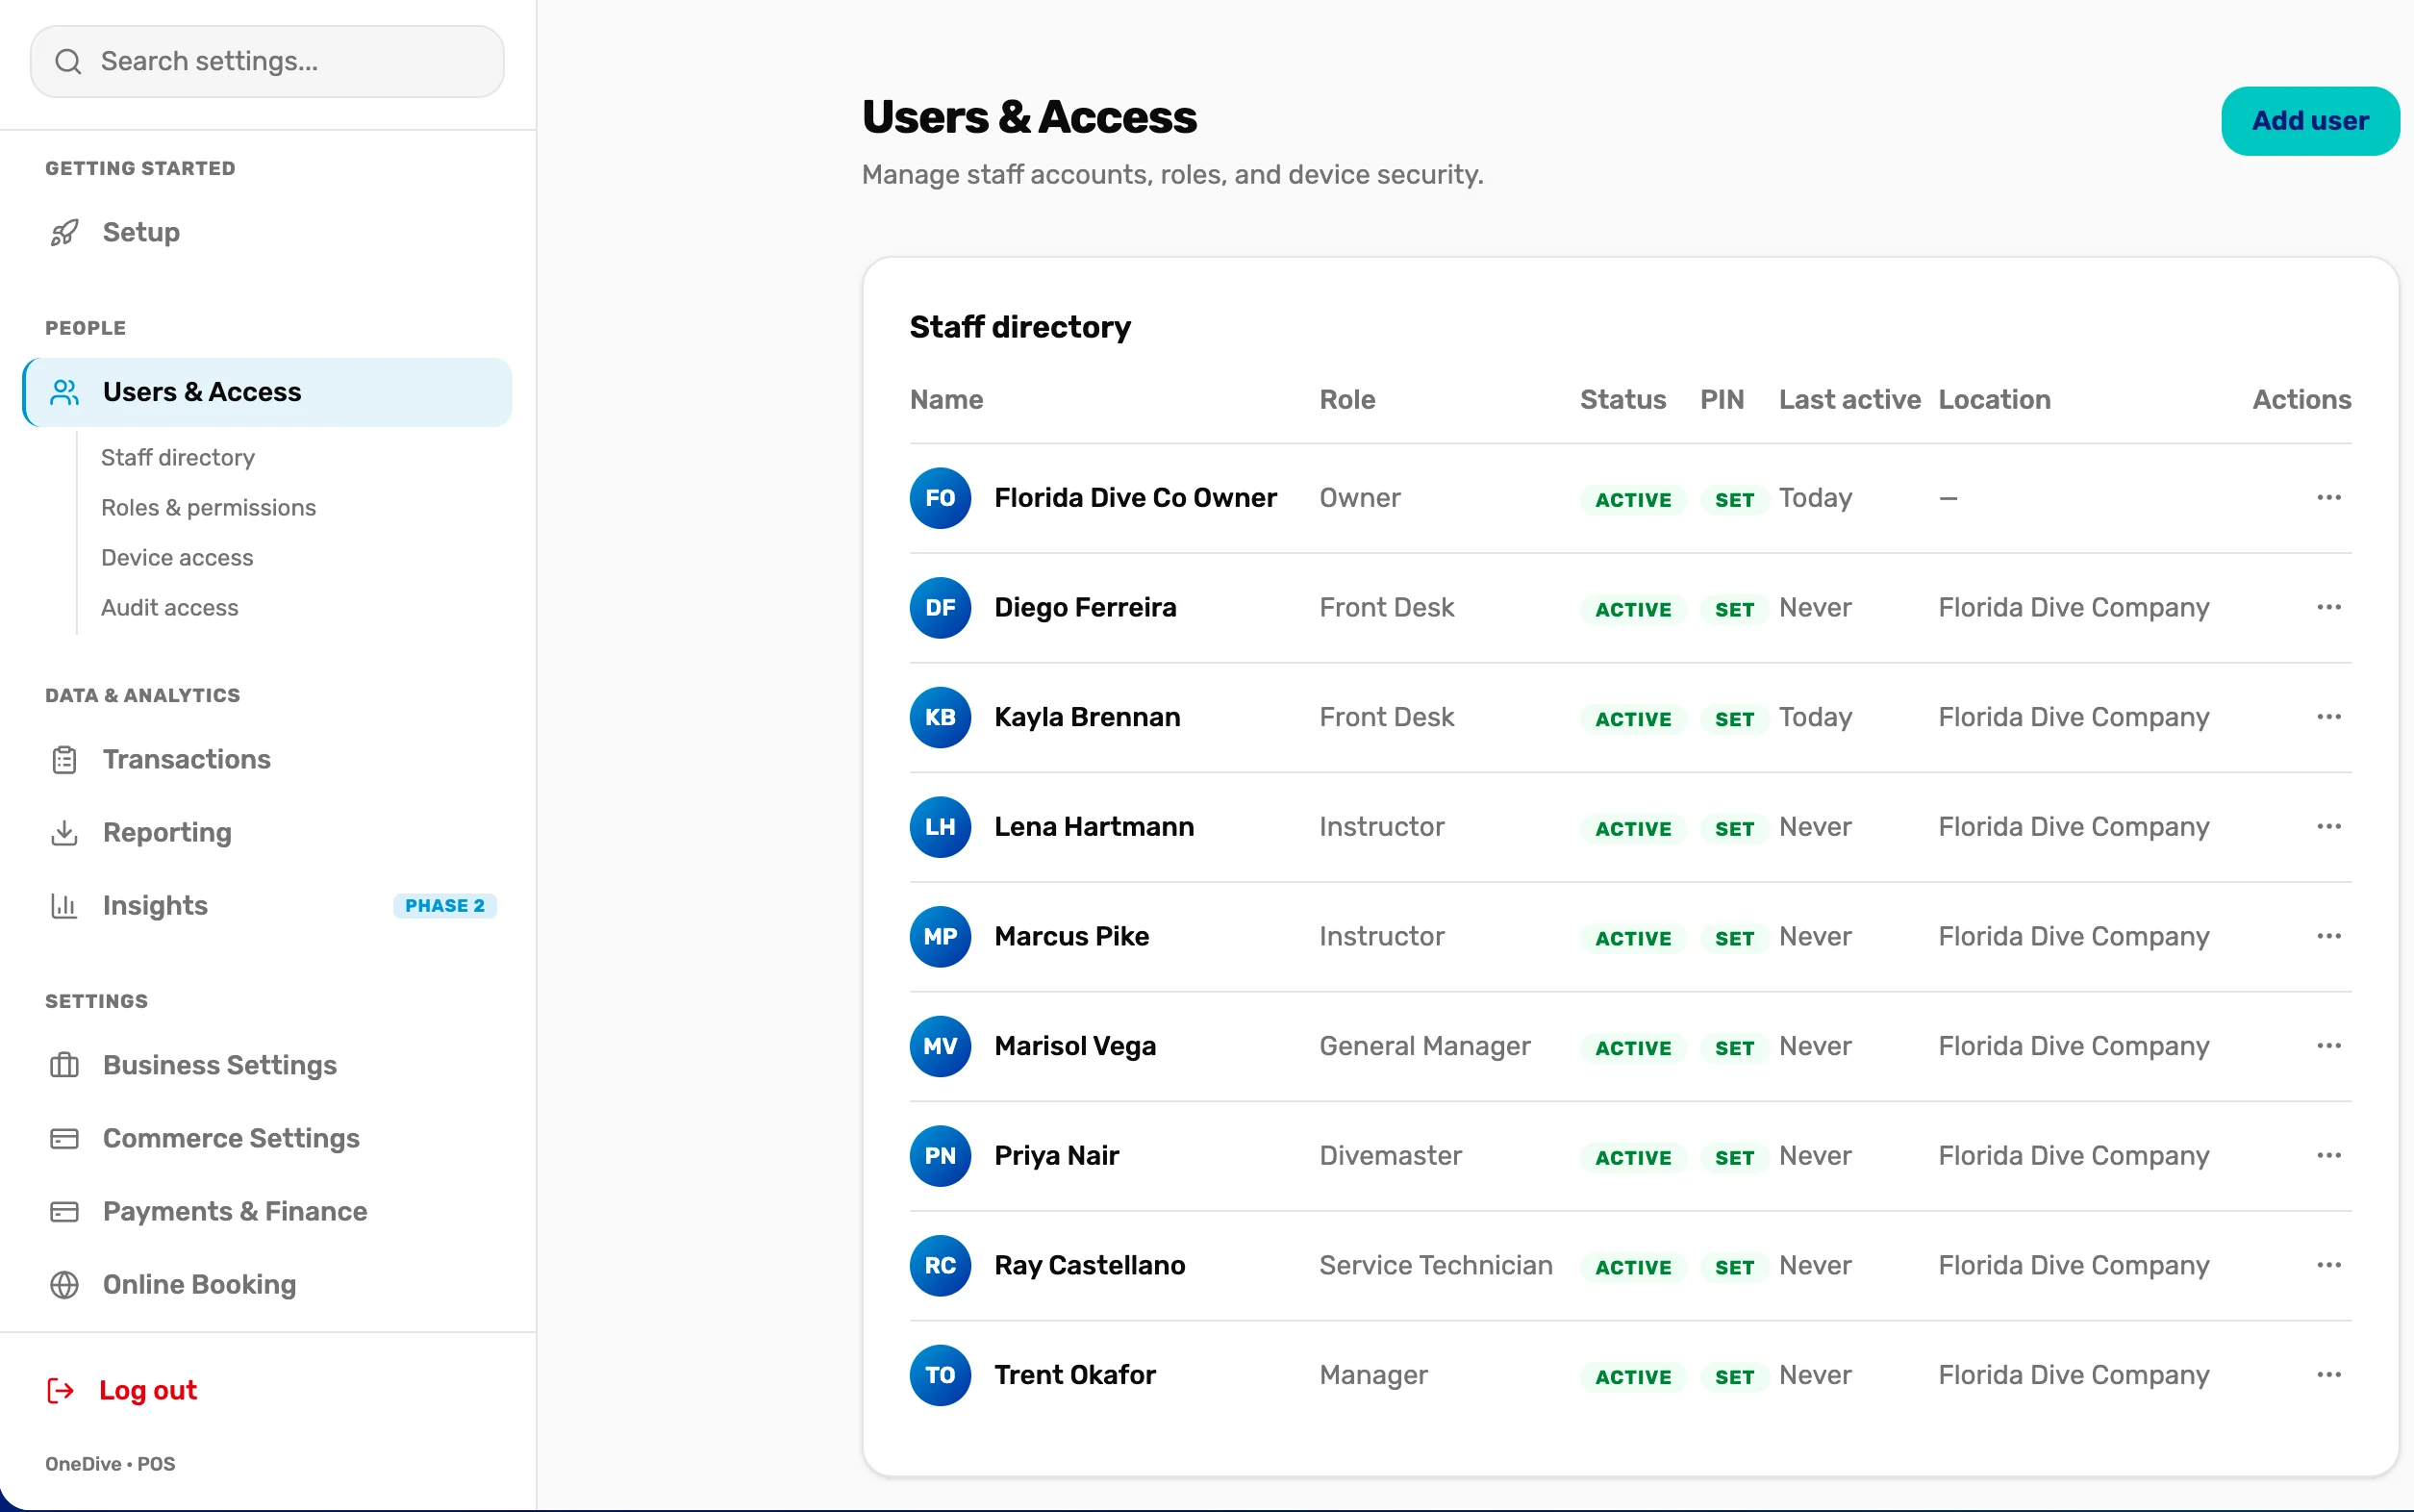
- Add user. Adds someone to the register.
- PIN. SET once they have a PIN. Without one they can't switch in.
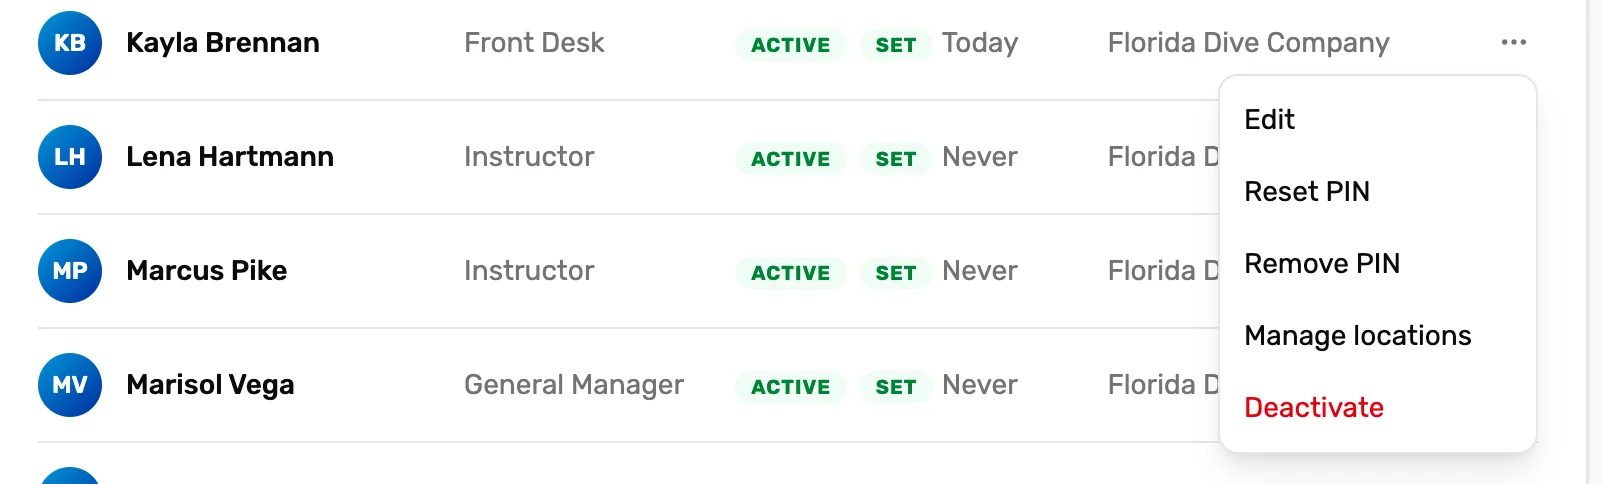
- The row menu. Edit, set or reset their PIN, their locations, or deactivate them.
Type their first and last name and pick a role. The email is optional: leave it blank for someone who only uses the register. Give a manager an email and they also get an invitation to sign in on the web.
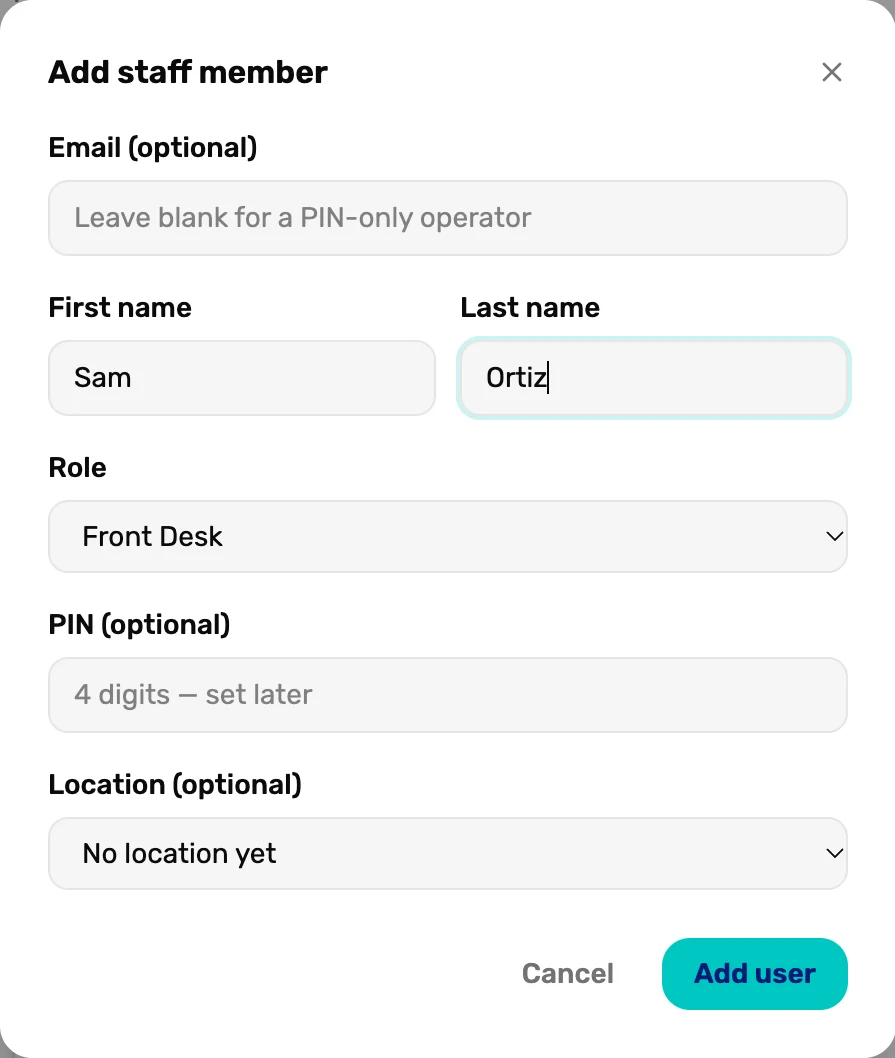
- Email (optional). Blank makes a PIN-only operator.
- Role. What they can do. See the table below.
- PIN (optional). Four digits now, or set it in Mission 2.
| Role | What it is for |
|---|---|
| Owner | Everything, including billing. |
| General Manager | Runs the store: staff, reports, refunds. |
| Manager | Refunds, price overrides, discount approvals, reports. |
| Front Desk | Sales, customers and checkout. |
| Service Technician | Service tickets, inventory and repair logs. |
| Instructor | Courses, calendar and student rosters. |
How many people you can add depends on your plan; see Subscription & Billing.
Mission 2: Give your team PINs
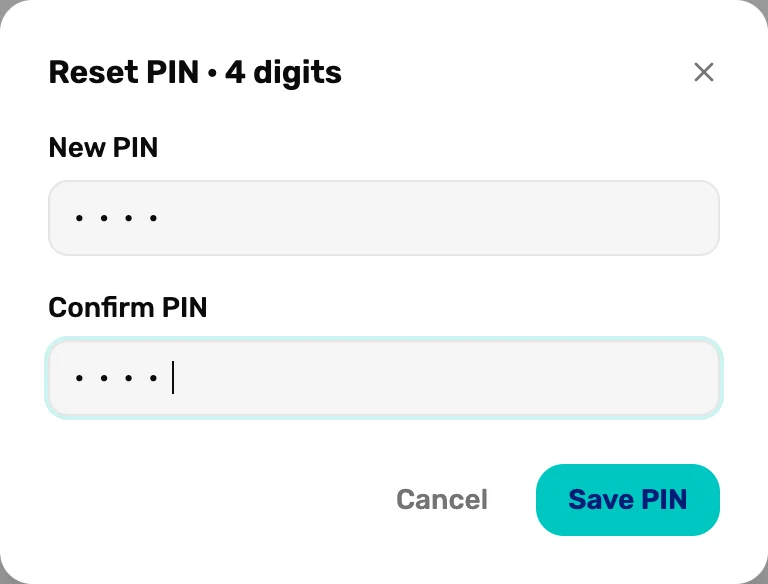
In the Staff directory, open the person's menu and choose Set PIN (or Reset PIN if they have one). Type it twice and choose Save PIN.
Mission 3: Register this register
A register is the tablet or computer at your counter. Registering it lets it hold a cash drawer, print receipts and lock behind a PIN. On the device itself, go to Setup › Register a register and choose Add this device as a register. Name it, pick its location, and save.
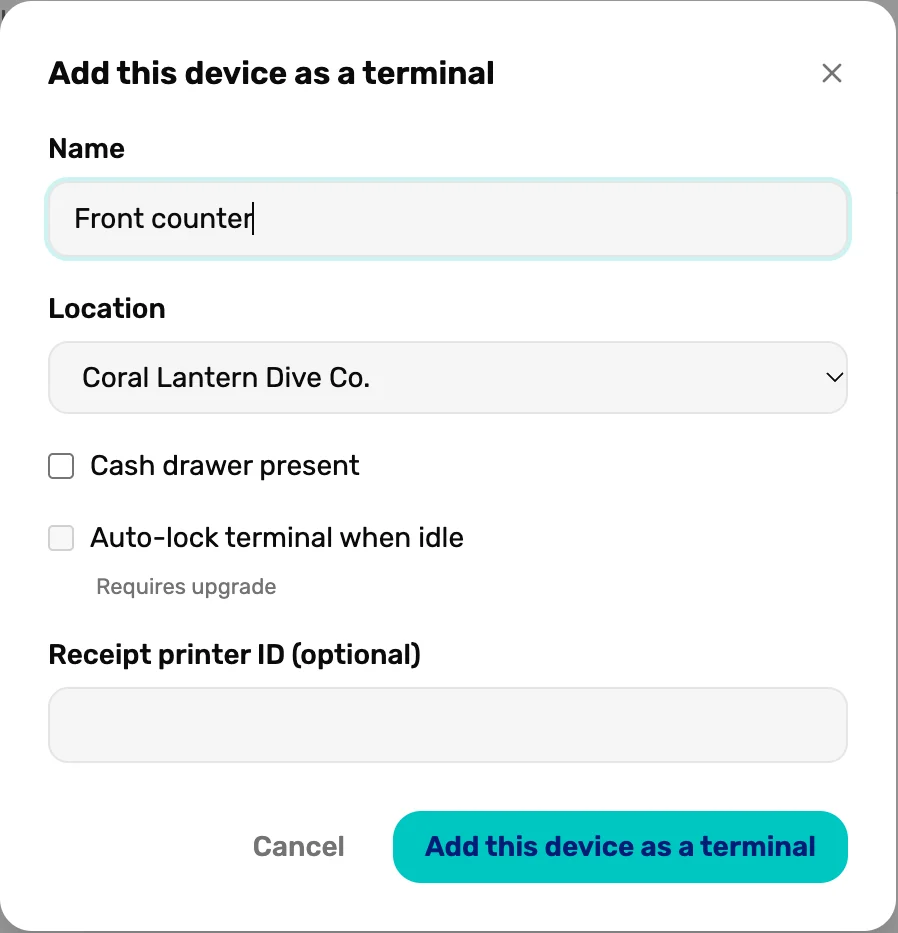
- Name. What your team calls it, like Front counter.
- Location. Which shop it sits in.
- Add. Registers this device. Do it once on each device.
Your registers, in Settings
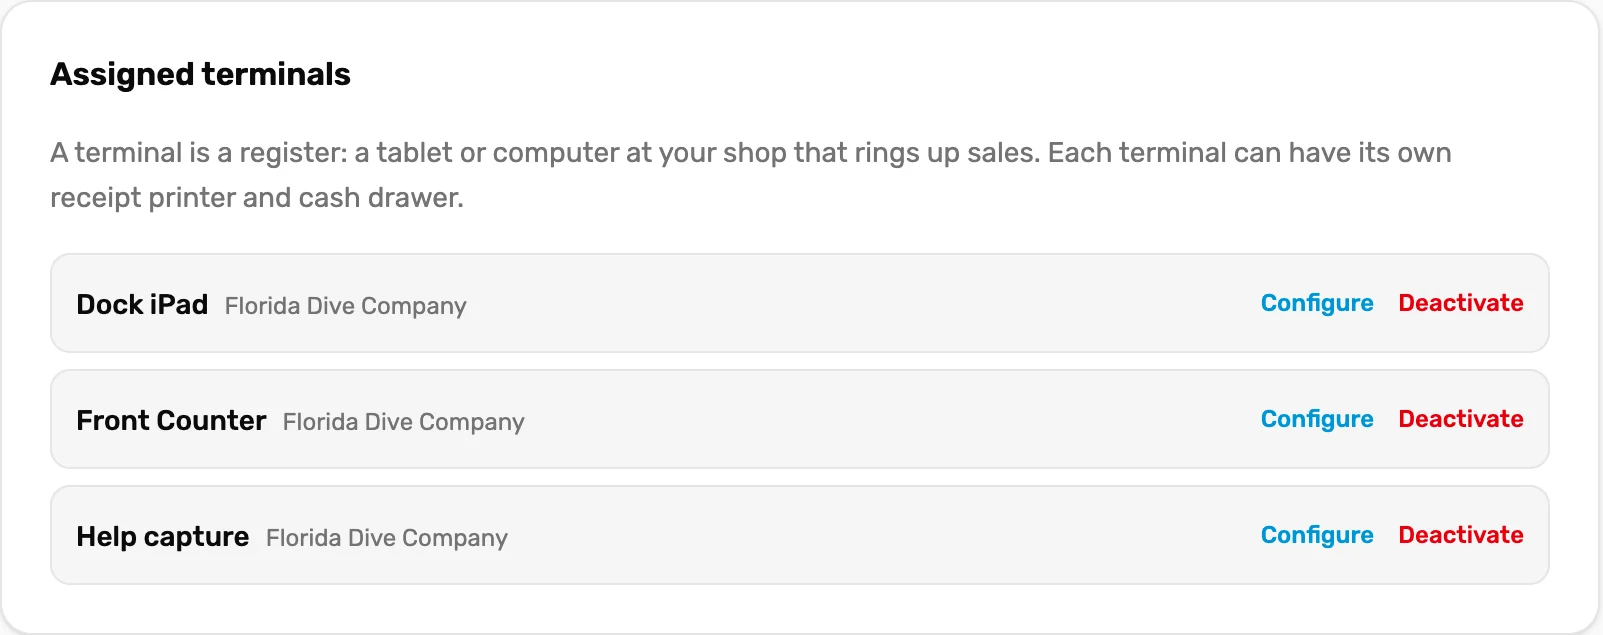
- Assigned terminals. Every register, in Settings › Devices. Configure renames it or moves it.
Mission 4: Lock and switch
Tap the lock at the top left to lock the register when you step away. The next person taps their name and types their PIN. Tap the name at the top right to switch to someone else without locking.

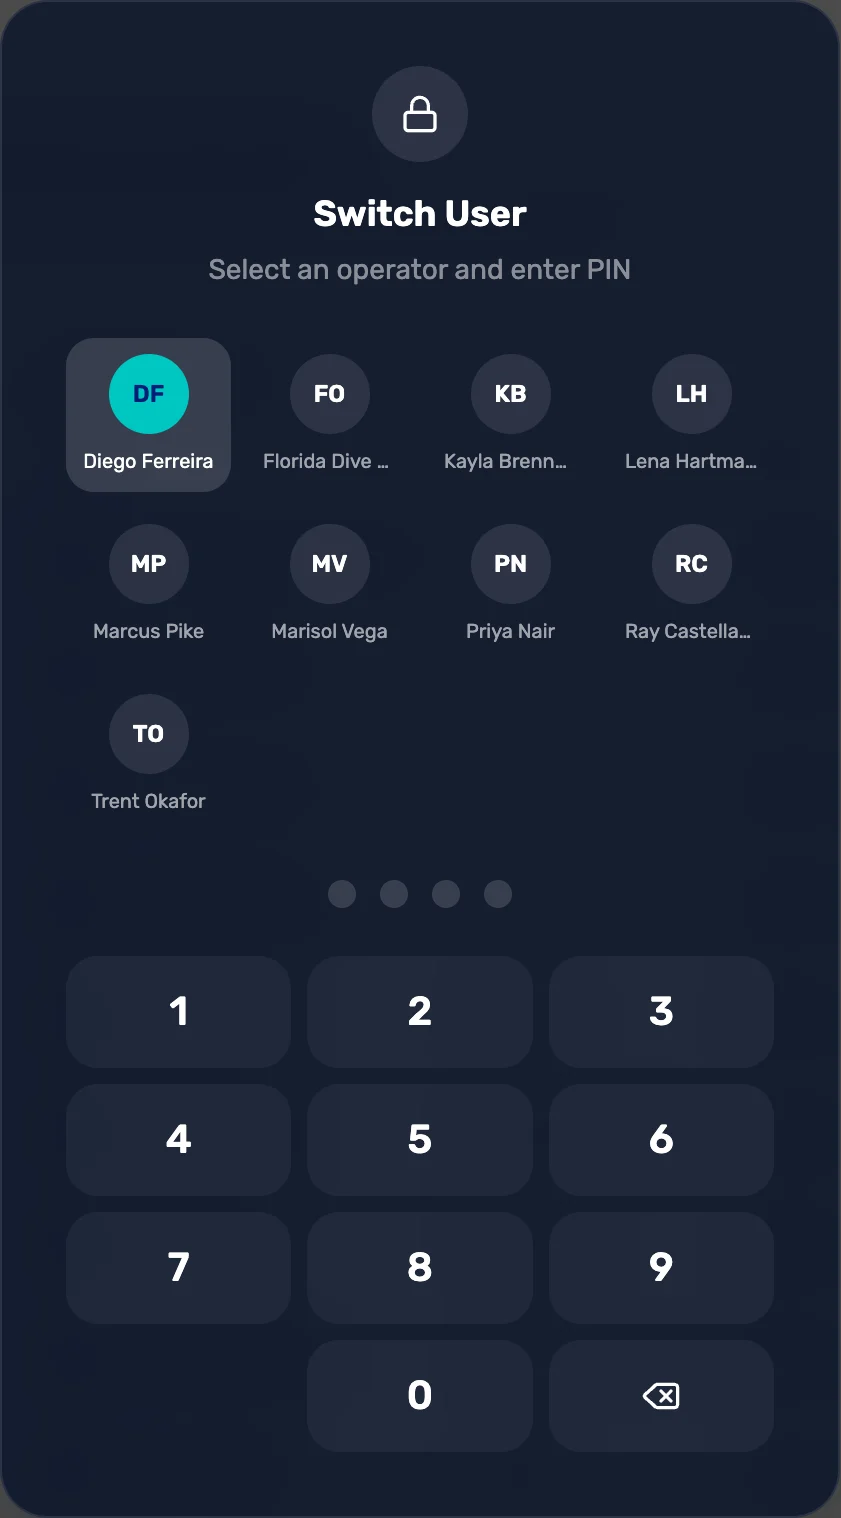
- Pick your name. Only people with a PIN are shown.
- Type your PIN. Five wrong tries locks the pad for a few seconds.
Afterwards
- Decide how much your team can take off a sale without a manager in Commerce Settings › Default discount permissions. A bigger discount asks a manager for their PIN. See Give a discount on a sale.
- Someone leaving? Open their menu in the Staff directory and choose Deactivate. Their history stays.
- Every unlock, PIN change and new user is in Audit access.
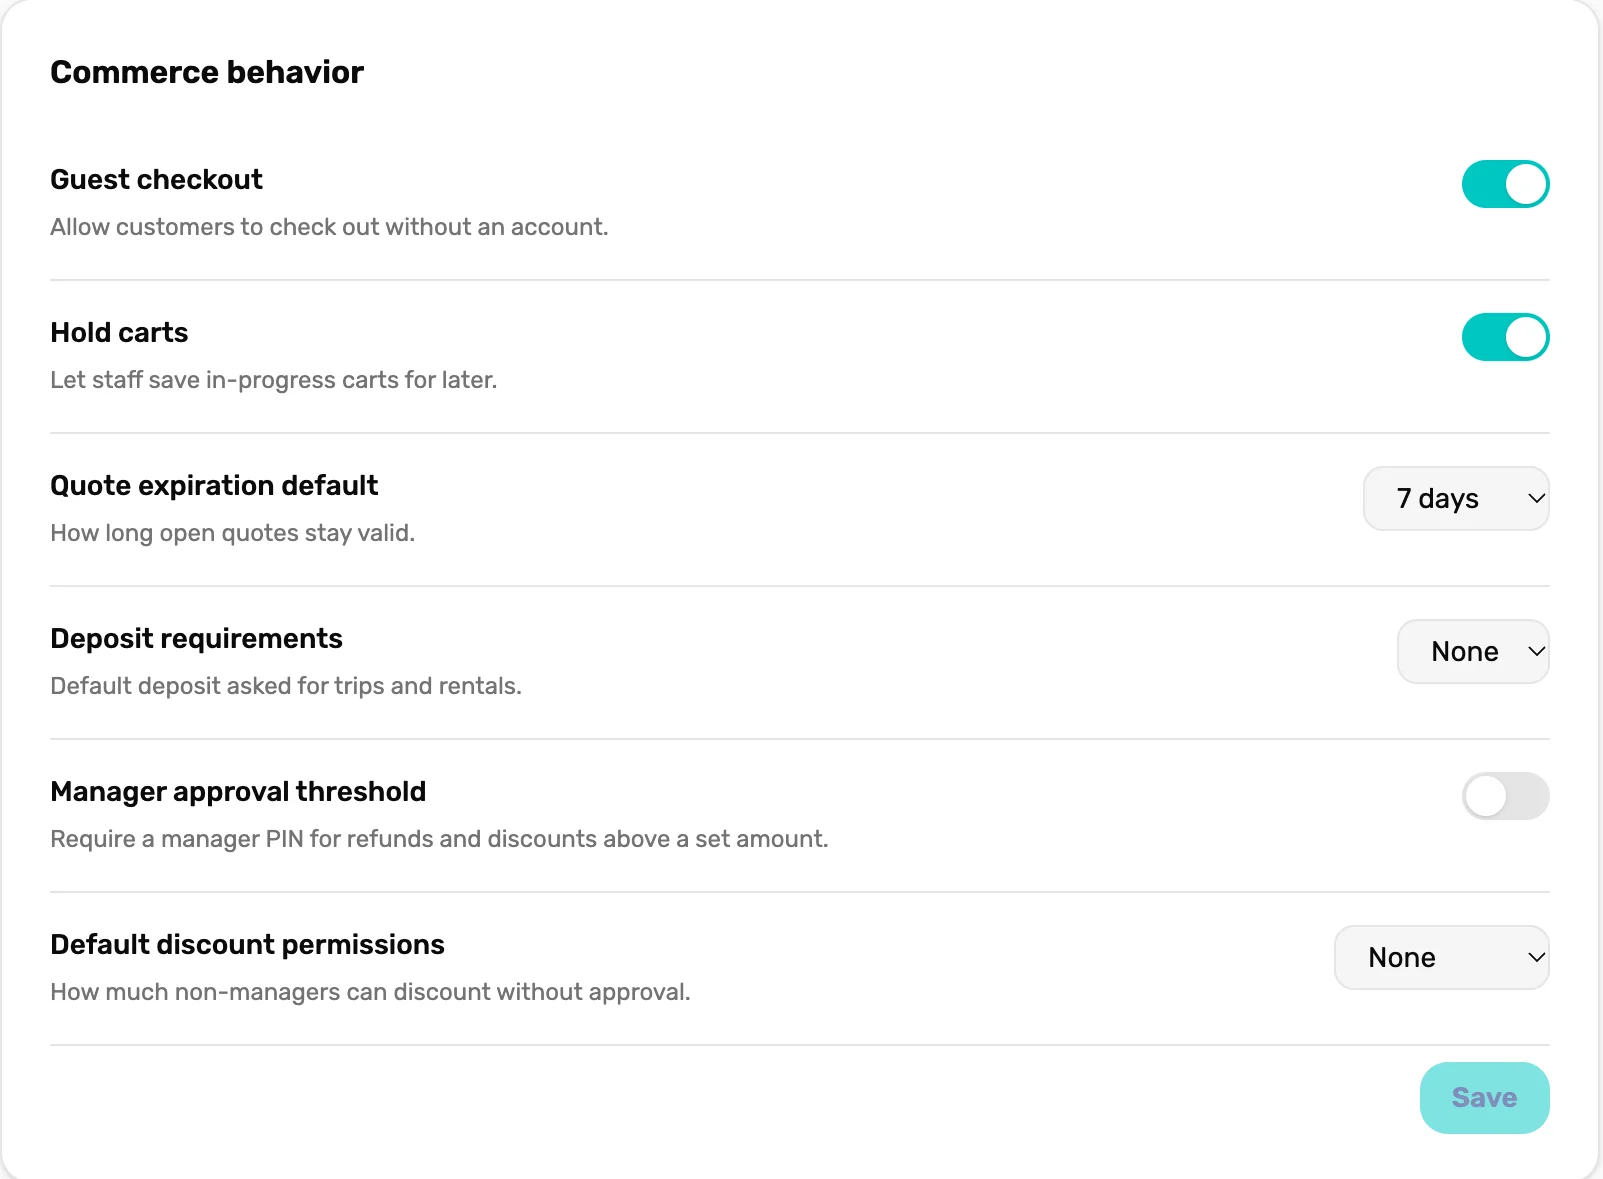
- Default discount permissions. None, up to 10%, up to 25%, or Unlimited, for anyone below manager.
- Manager approval threshold. A sale over this amount asks for a manager's PIN.