
What this is for. A ticket is the record of whose gear it is, what came in and what the customer asked for. Make it while the customer is at the counter, so nothing is left to memory.
Start a ticket and pick the gear type
Go to Service › New ticket, or choose New ticket on the board. Tap the kind of gear on the counter.
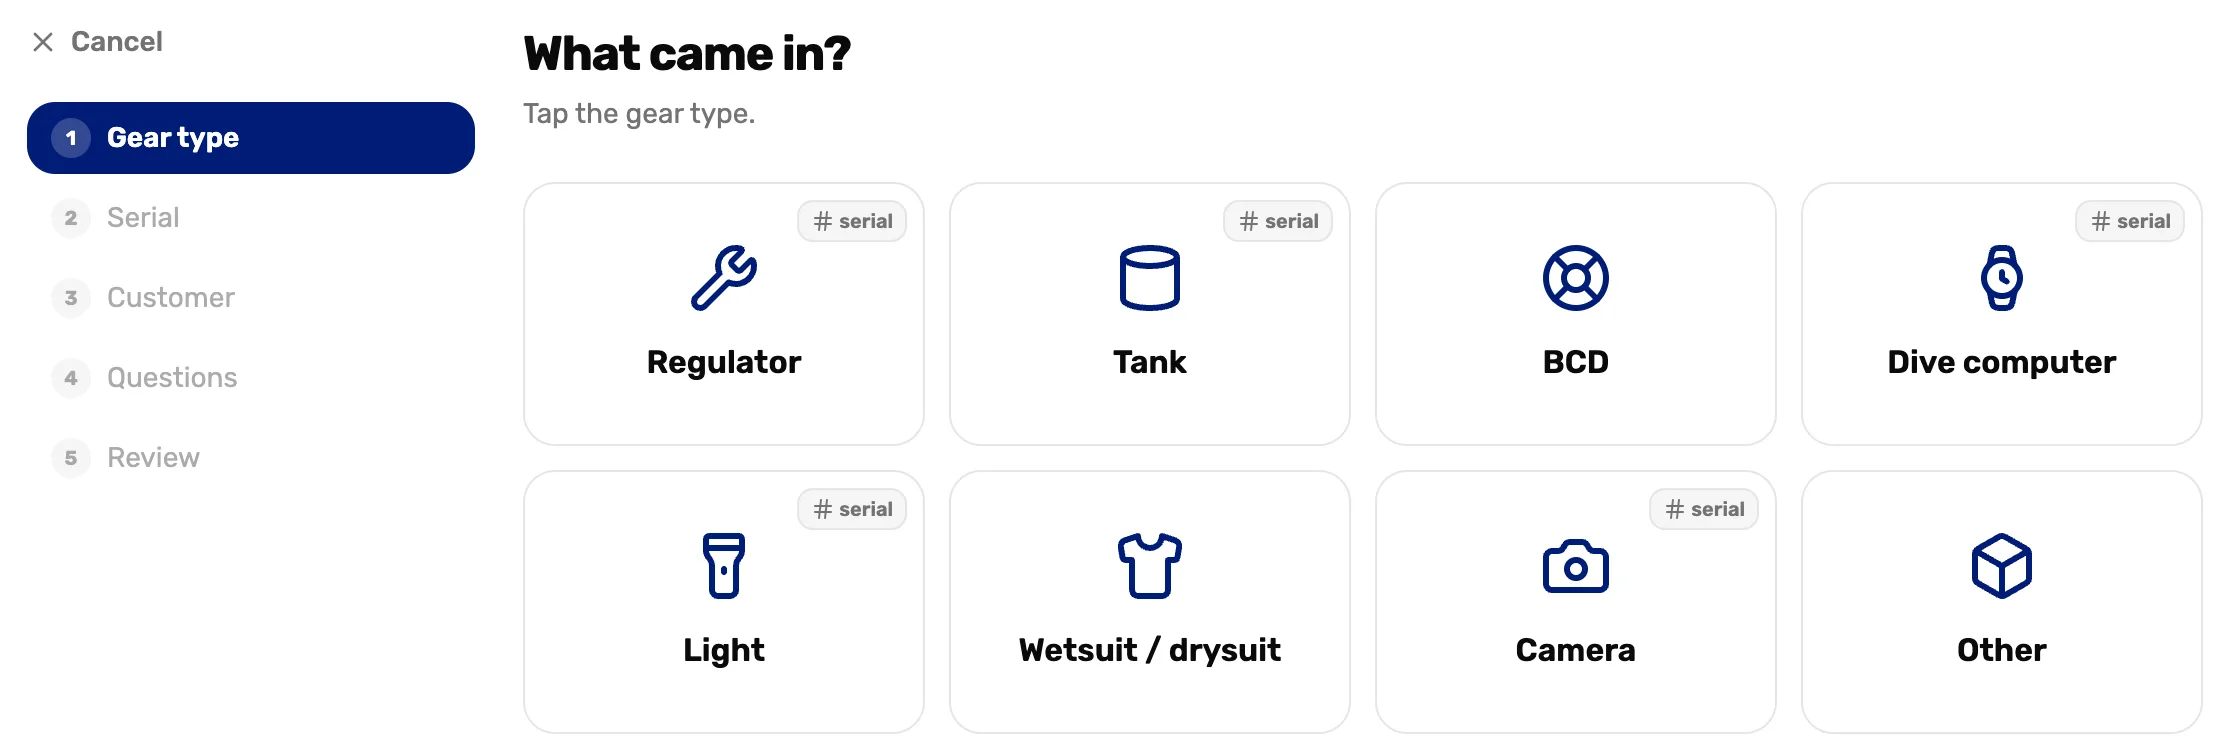
- The five steps. Gear type, serial, customer, questions, review. Back goes one step; Cancel leaves without making a ticket.
- A gear tile. Picks the type and its questions.
- Serial. This type asks for a serial number next.
Type the serial number
Type the serial and choose Continue. Service history follows the serial, so the next ticket for this gear shows this one.
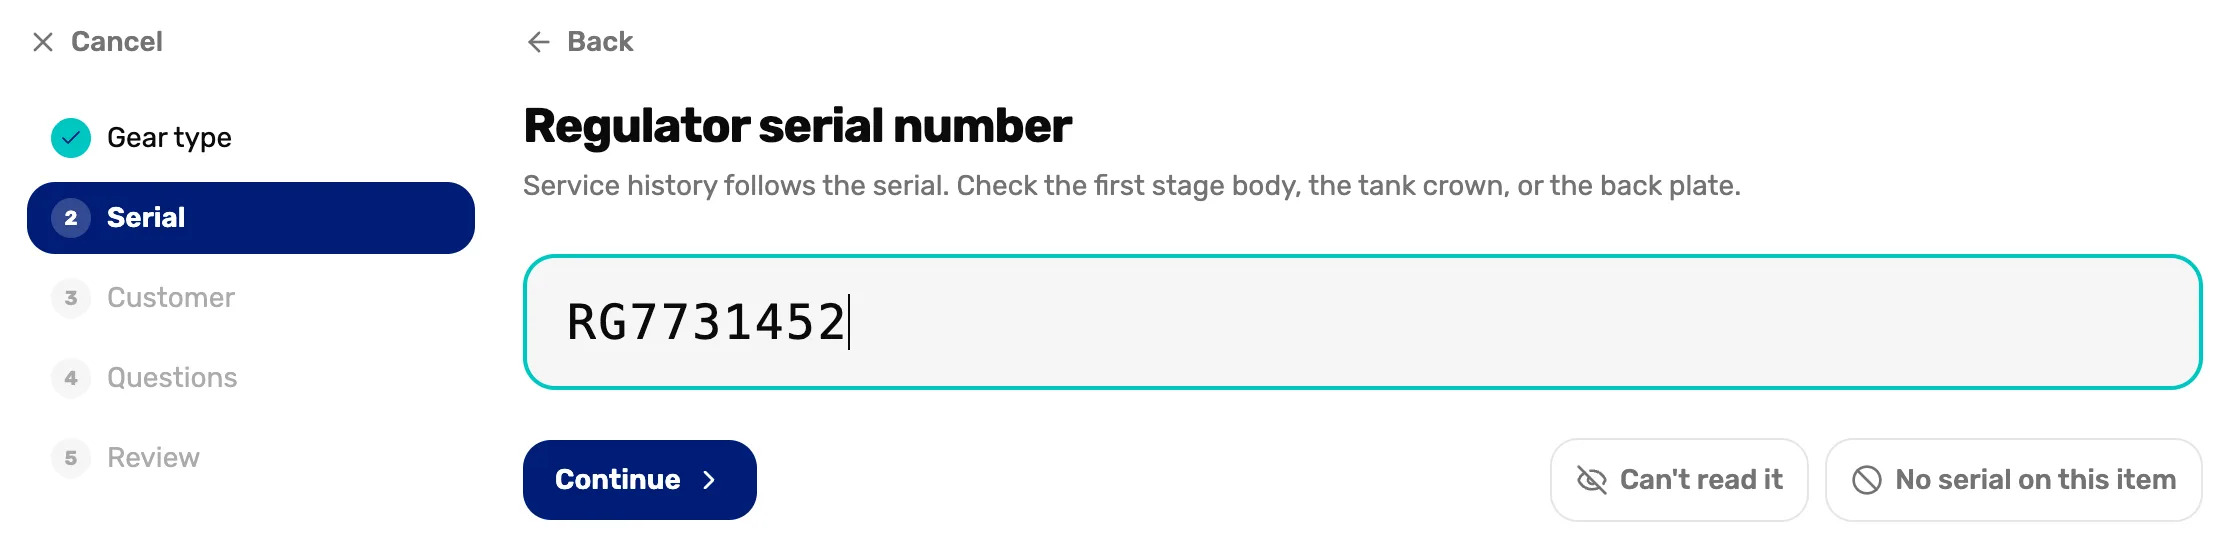
- The serial. On a regulator it is on the first stage body; on a tank, the crown.
- Can't read it. Goes on without one.
- No serial on this item. For gear that has none.
Pick the customer
Choose Add customer, then search by name or phone number. If they are new, add them from the same window.
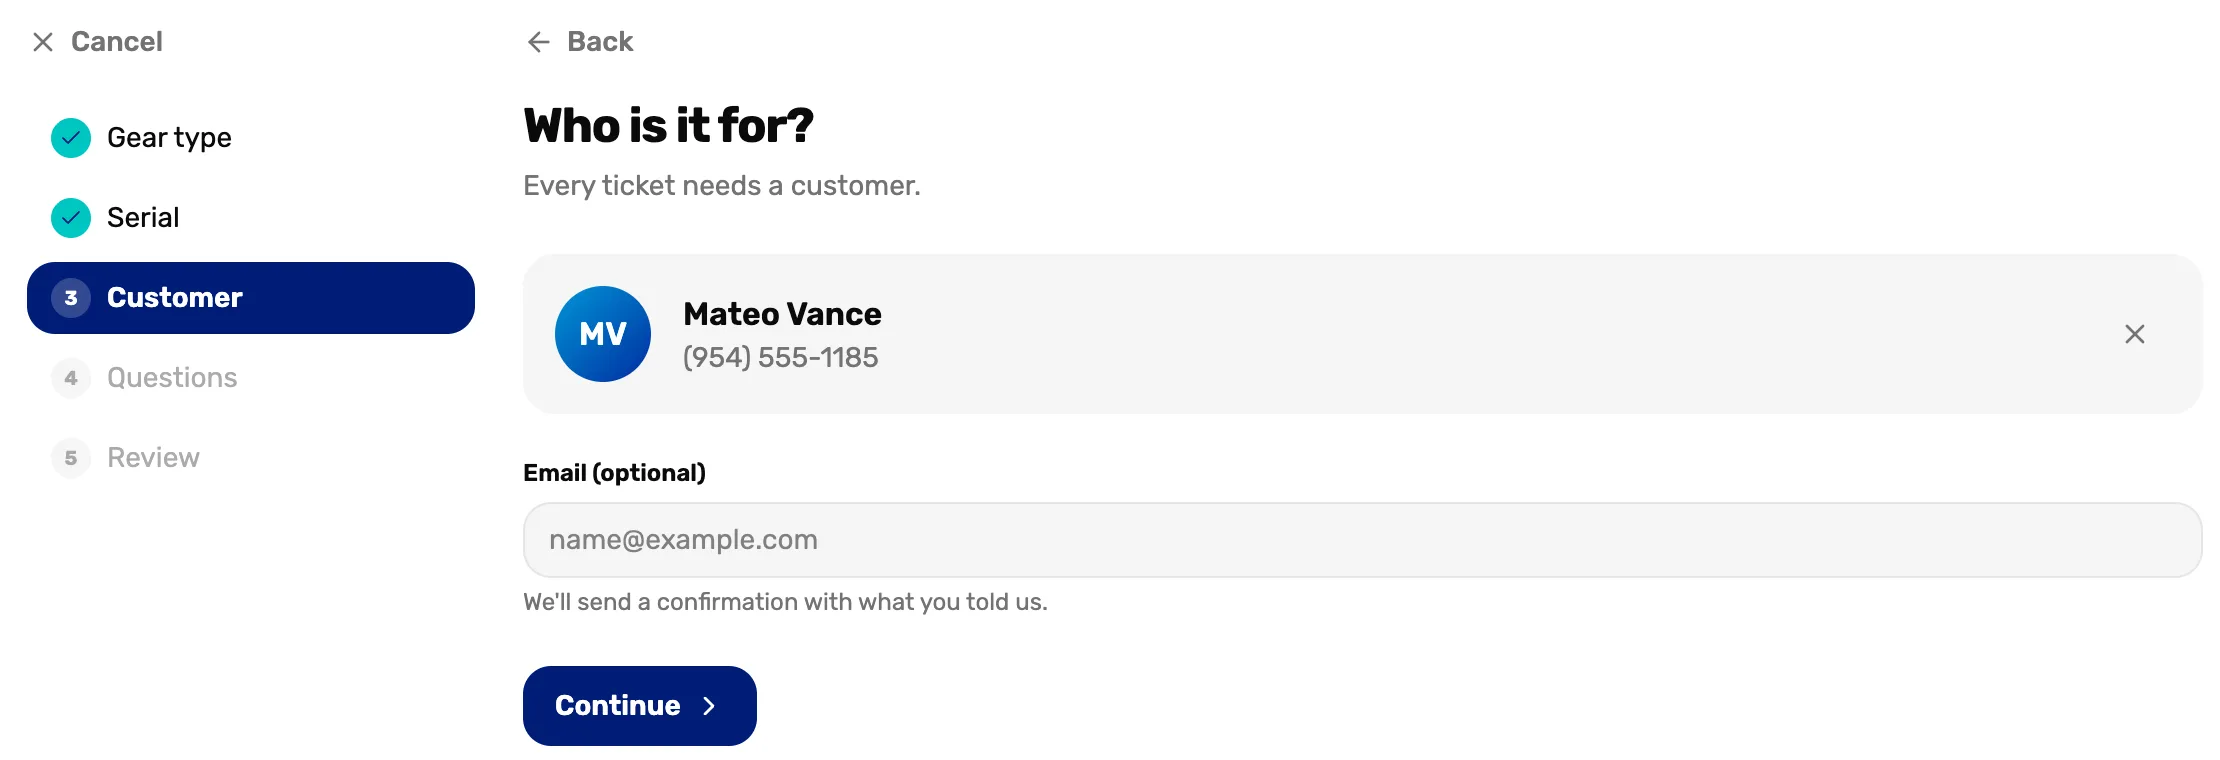
- The customer. The cross takes them off if you picked the wrong one.
- Email (optional). The confirmation goes here. With a phone number on file they also get a text.
Answer the questions
Each question is one screen. Tap every answer that applies and choose Continue. A question that isn't required has Skip.
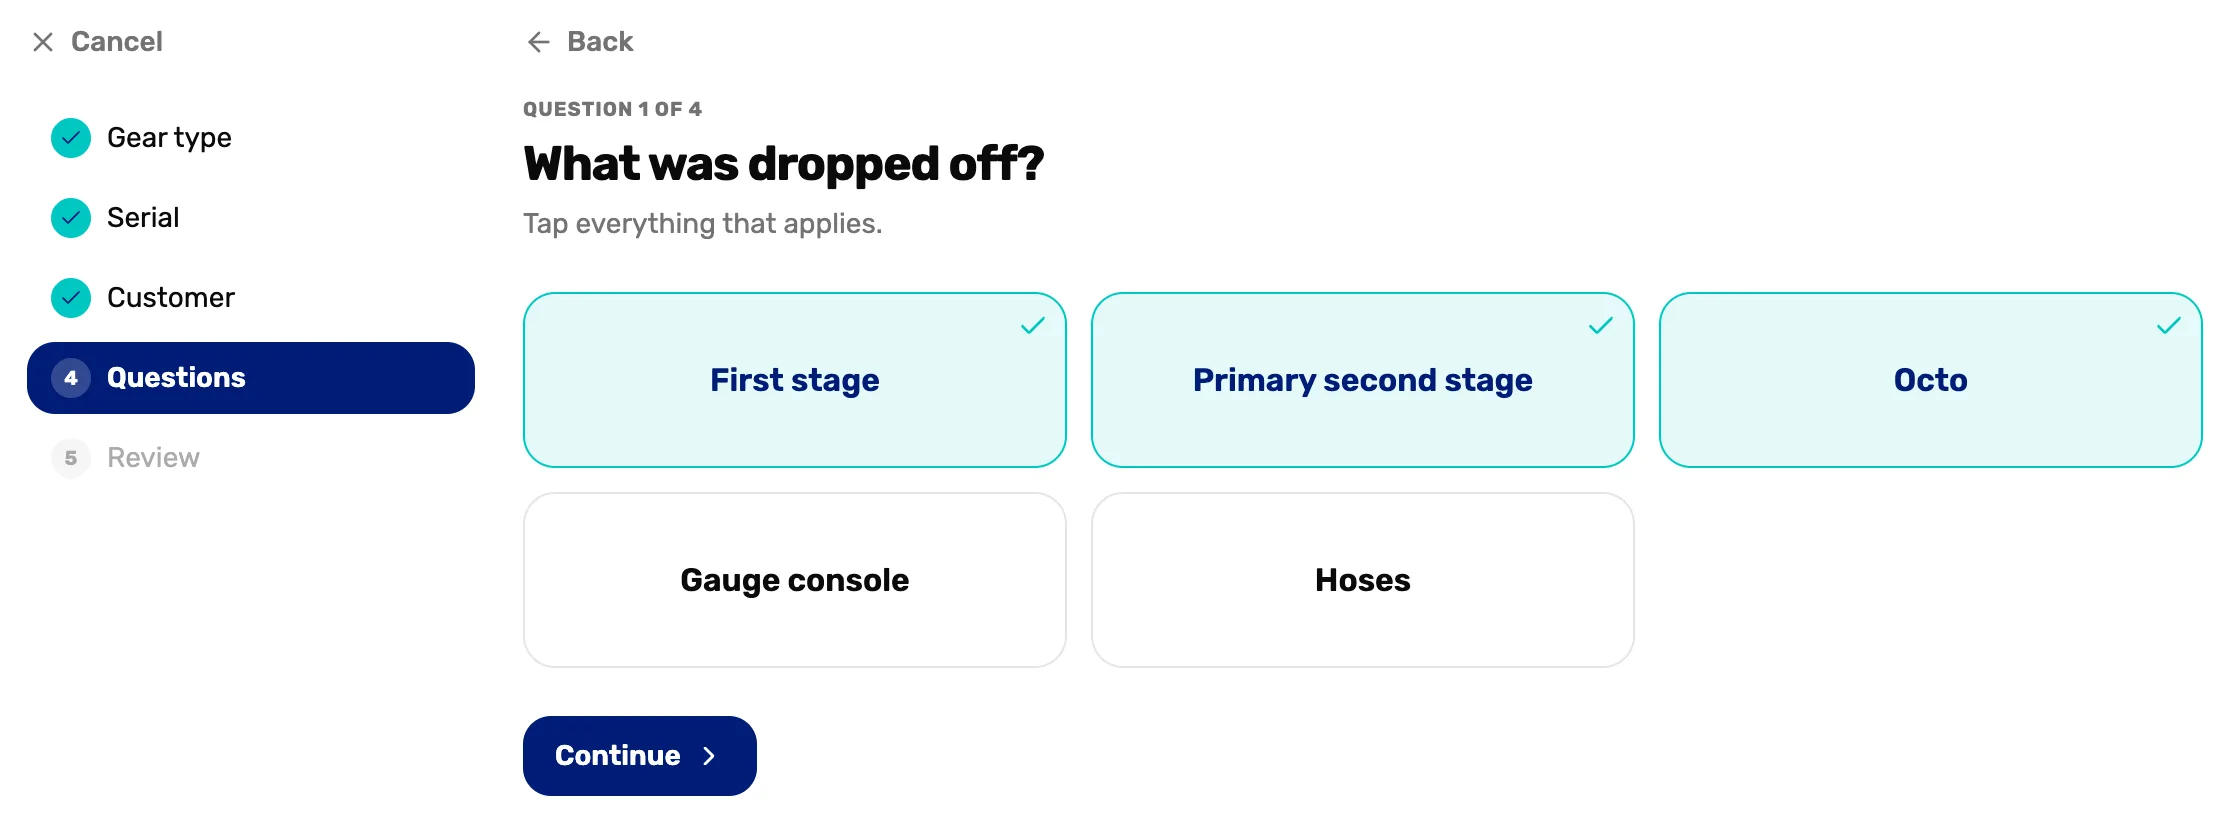
- Picked answers. Have a tick. Tap again to unpick.
- Continue. The next question, then the review.
The questions come from the gear type. To change them, see Set up your service menu.
Check it and create the ticket
Read it back to the customer. Add a note for anything the questions didn't cover, then choose Create ticket. The ticket lands in the Intake column.
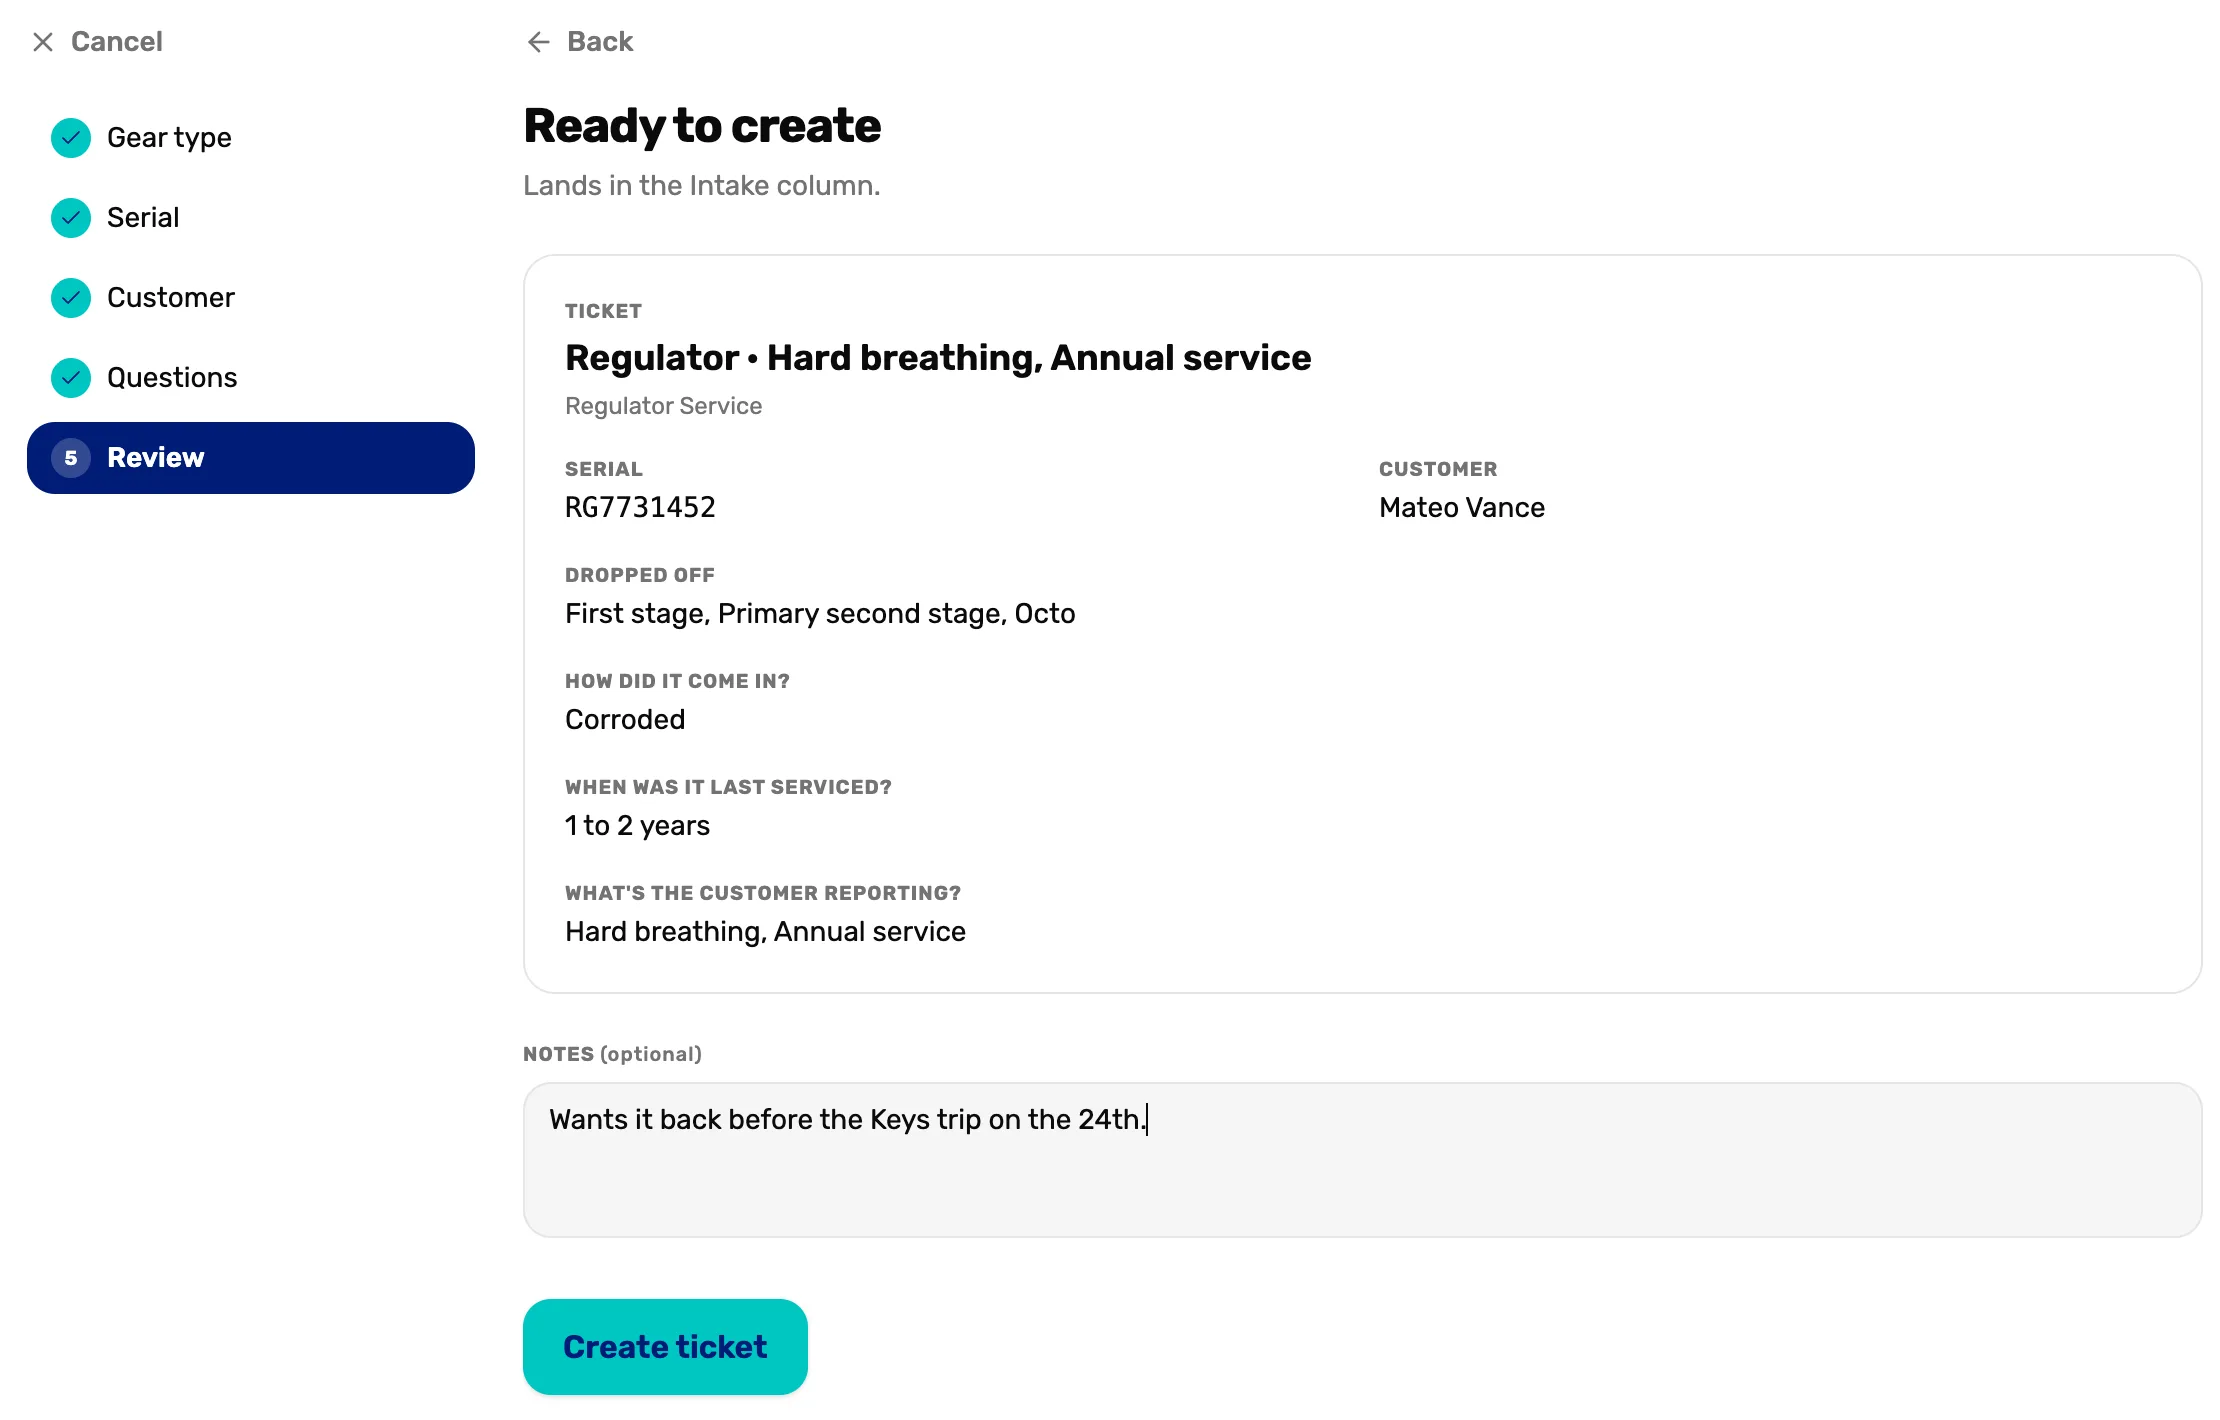
- The ticket name. Made from the answers marked for the title.
- Notes. Anything else, like a date they need it back.
- Create ticket. Saves it. If confirmations are on, the customer is sent one.
Print a copy for the gear
The ticket opens with a print choice. The printout stays with the gear, so anyone in the shop can see whose it is.
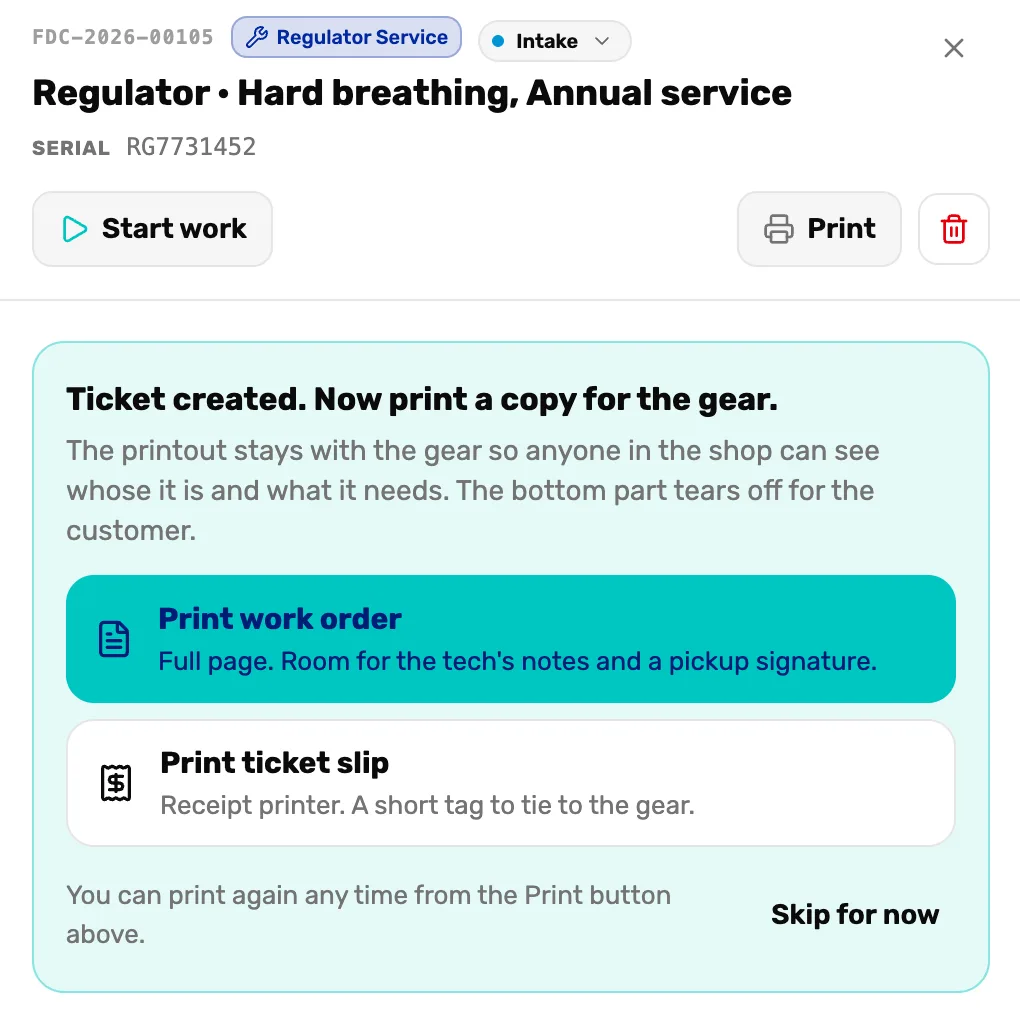
- Print work order. A full page, with room for the tech's notes and a pickup signature.
- Print ticket slip. A short tag from the receipt printer, to tie to the gear.
- Skip for now. Print later.
- Print. Prints either one again, any time.
The two printouts
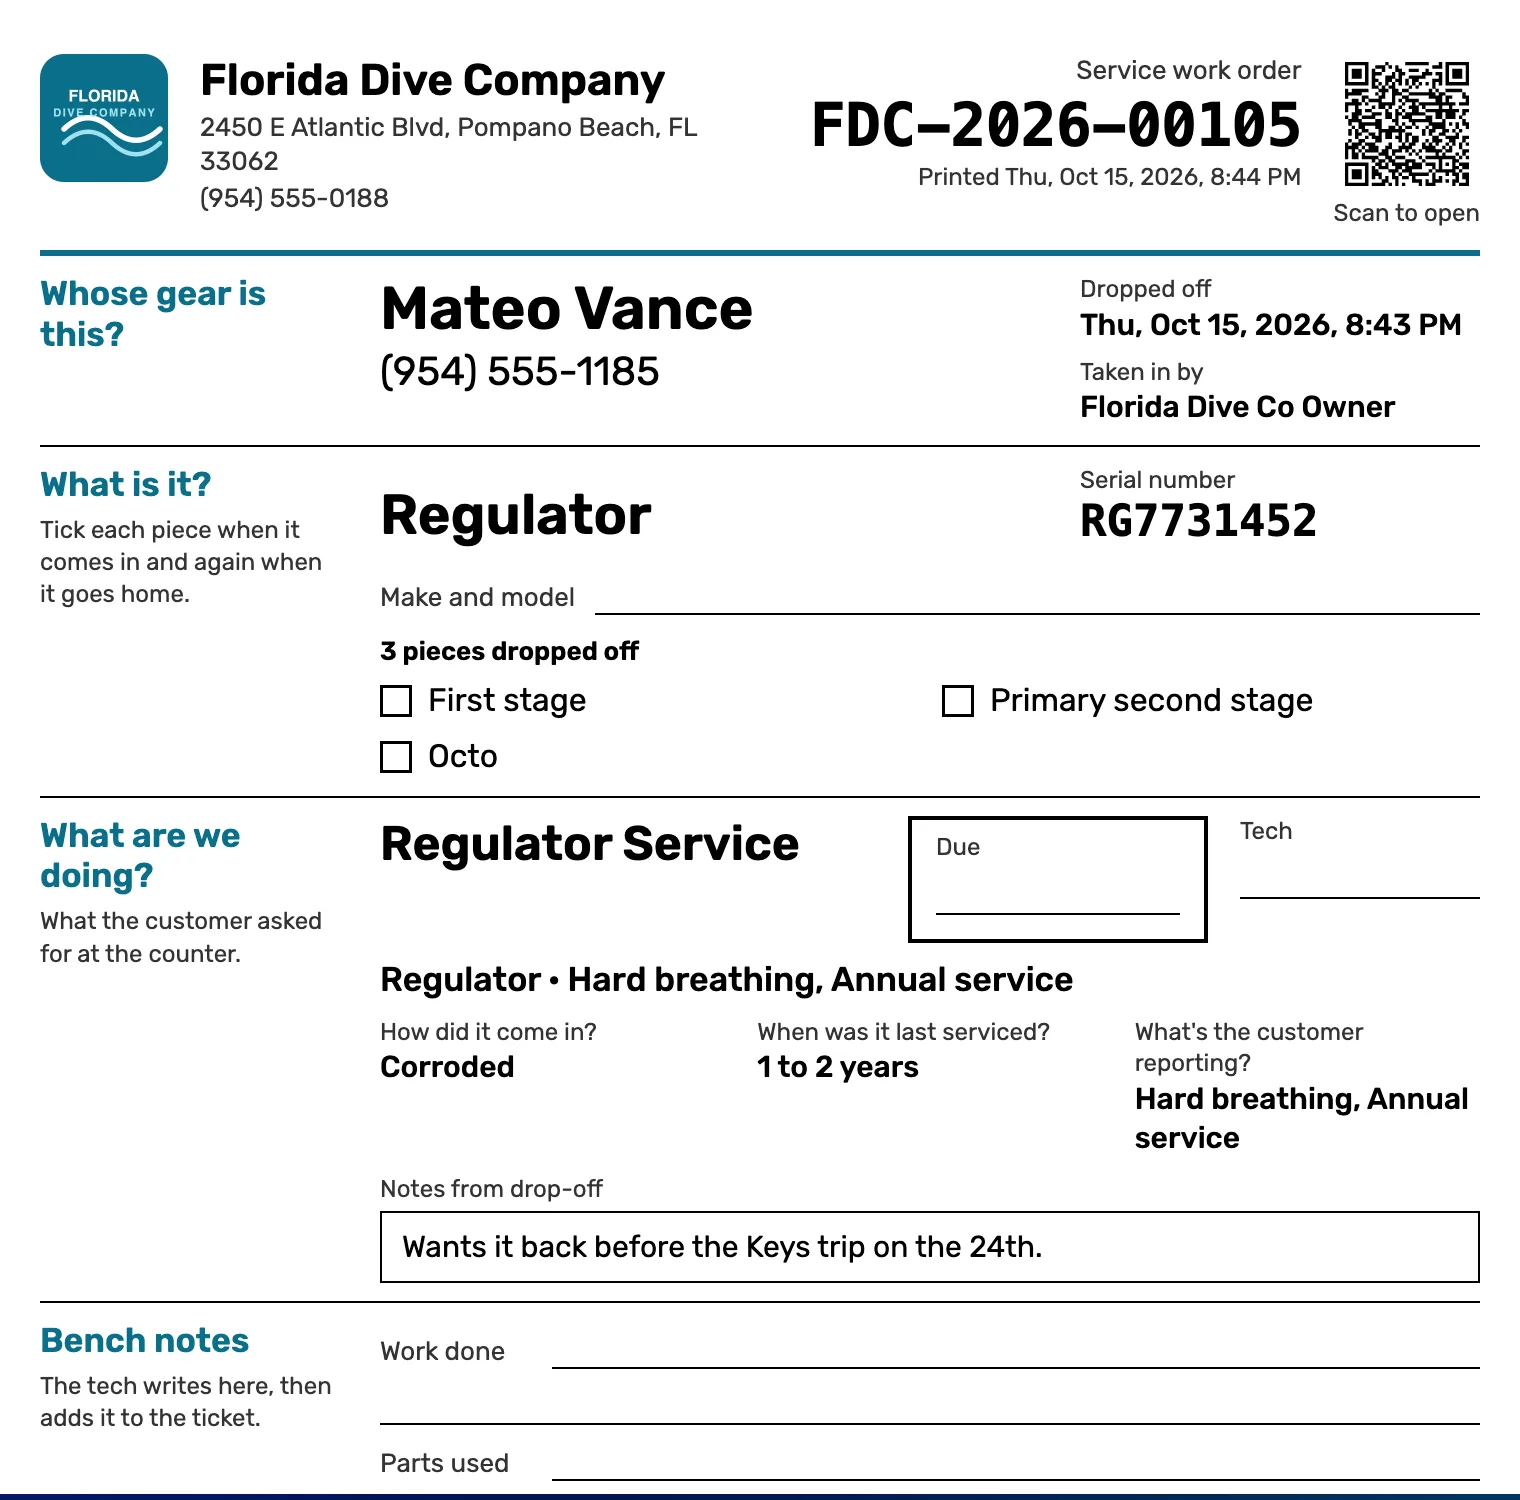
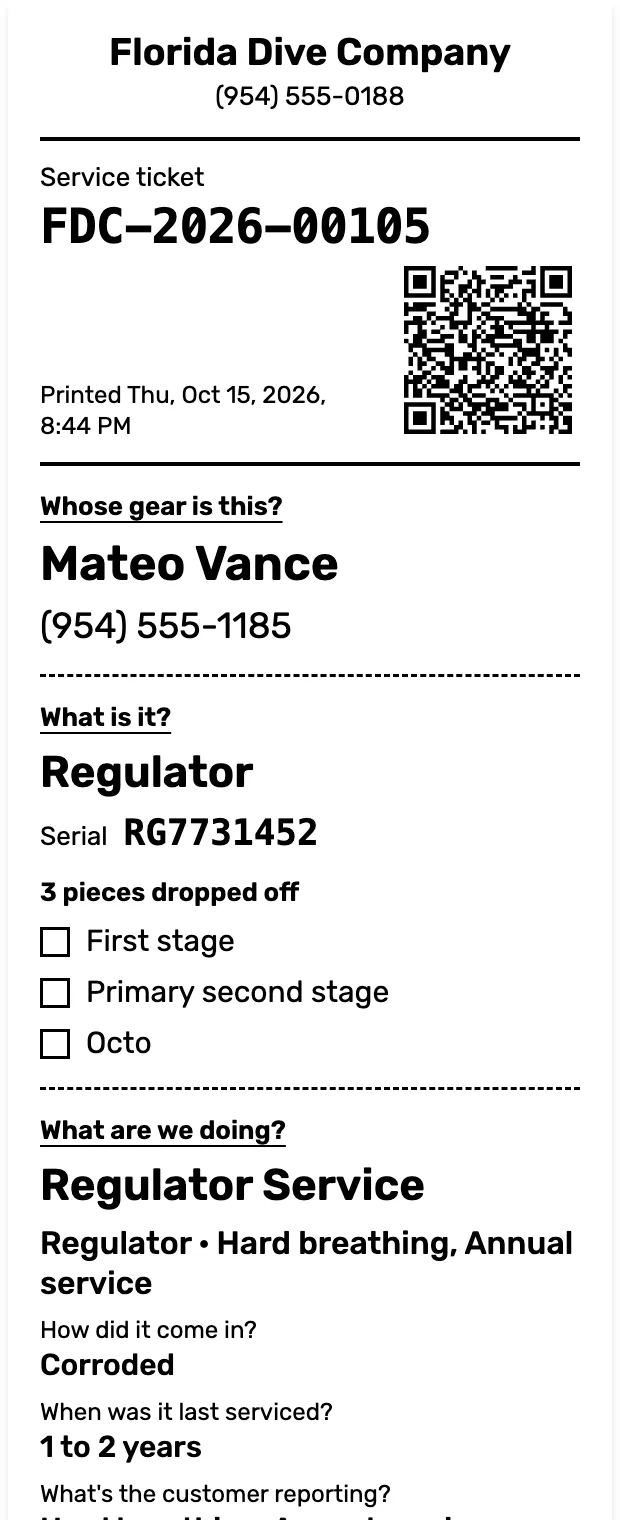
Scan the QR code to open the ticket. Tick the pieces off when the gear comes in, and again when it goes home.
What happens next
- If confirmations are on, the customer gets one by text, email or both, with what you told them.
- The ticket sits in Intake until someone chooses Start work.
- Next: charge for the work and hand it back, Mission 3.