
What this is for. A customer record keeps a person's sales, trips, classes, waivers, store credit and notes in one place, so anyone on your team can see who they are next time. All you need is a name and one way to reach them: a phone number or an email. You end up with a customer you can attach to any sale.
Open the new customer form
There are two ways in. Use whichever is closer.
- On the Customers page, tap New customer at the top right.
- At the register, tap New customer on the left. A search box opens. Tap + Create a new customer under it, or type the person's name first and tap the Create button that shows their name.
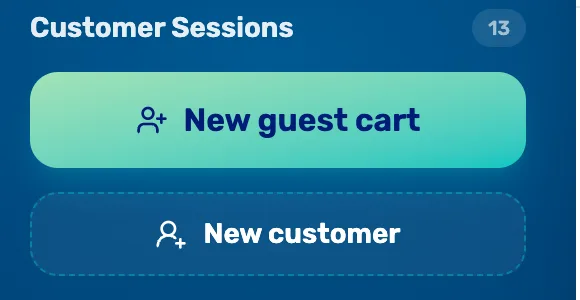
- New customer. Opens a customer search. Pick someone you already have, or make someone new.
The search box at the register

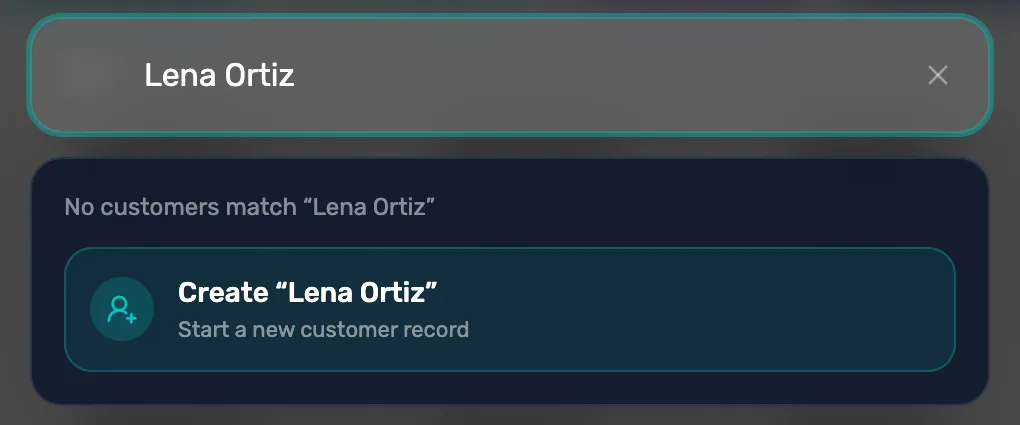
- Search. Type a name, phone number or email. Always search first, so you don't add someone twice.
- + Create a new customer. Opens an empty form.
- Create “name”. Opens the form with the name you typed already filled in. When the search finds other people, this button reads Create new customer and sits under the list.
Fill in the name and a phone or email
Type the first and last name, then a phone number, an email, or both. You need at least one of phone or email. Until you have one, the line At least one of phone or email is required. is orange and Create stays grey.
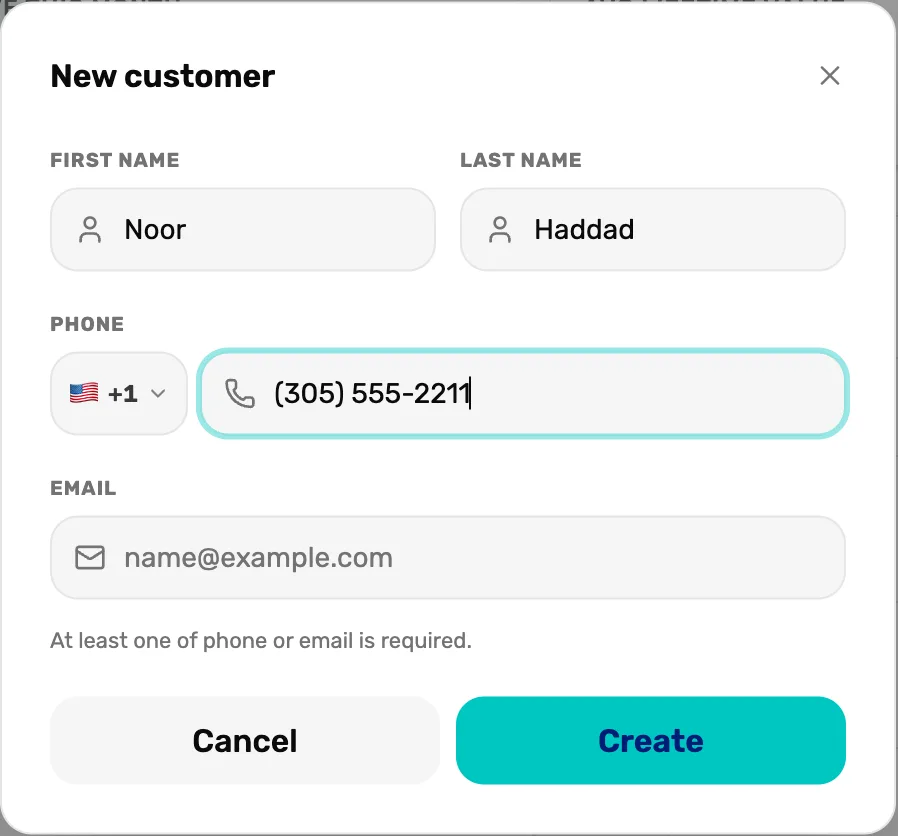
- First name and Last name. How the customer shows everywhere in OneDive. If you typed a name in the register's search, it is already here.
- Country code. Starts on the United States, +1. Tap it to search for another country, such as Canada or the United Kingdom.
- Phone. Type it any way you like. If it isn't a real number for that country, you see Enter a valid phone number.
- Email. Optional when you have a phone number. With an email on file you can email receipts and quotes.
- The rule. One of phone or email is required. Both is better.
- Create. Saves the customer.
Tap Create
Where you end up depends on where you started.
- From the Customers page, the customer's details open. They are a Walk-in until they set up their OneDive profile.
- From New customer at the register, the register opens a cart with the customer on it, ready to ring up.
- From New on a guest cart, the customer is attached to that cart.
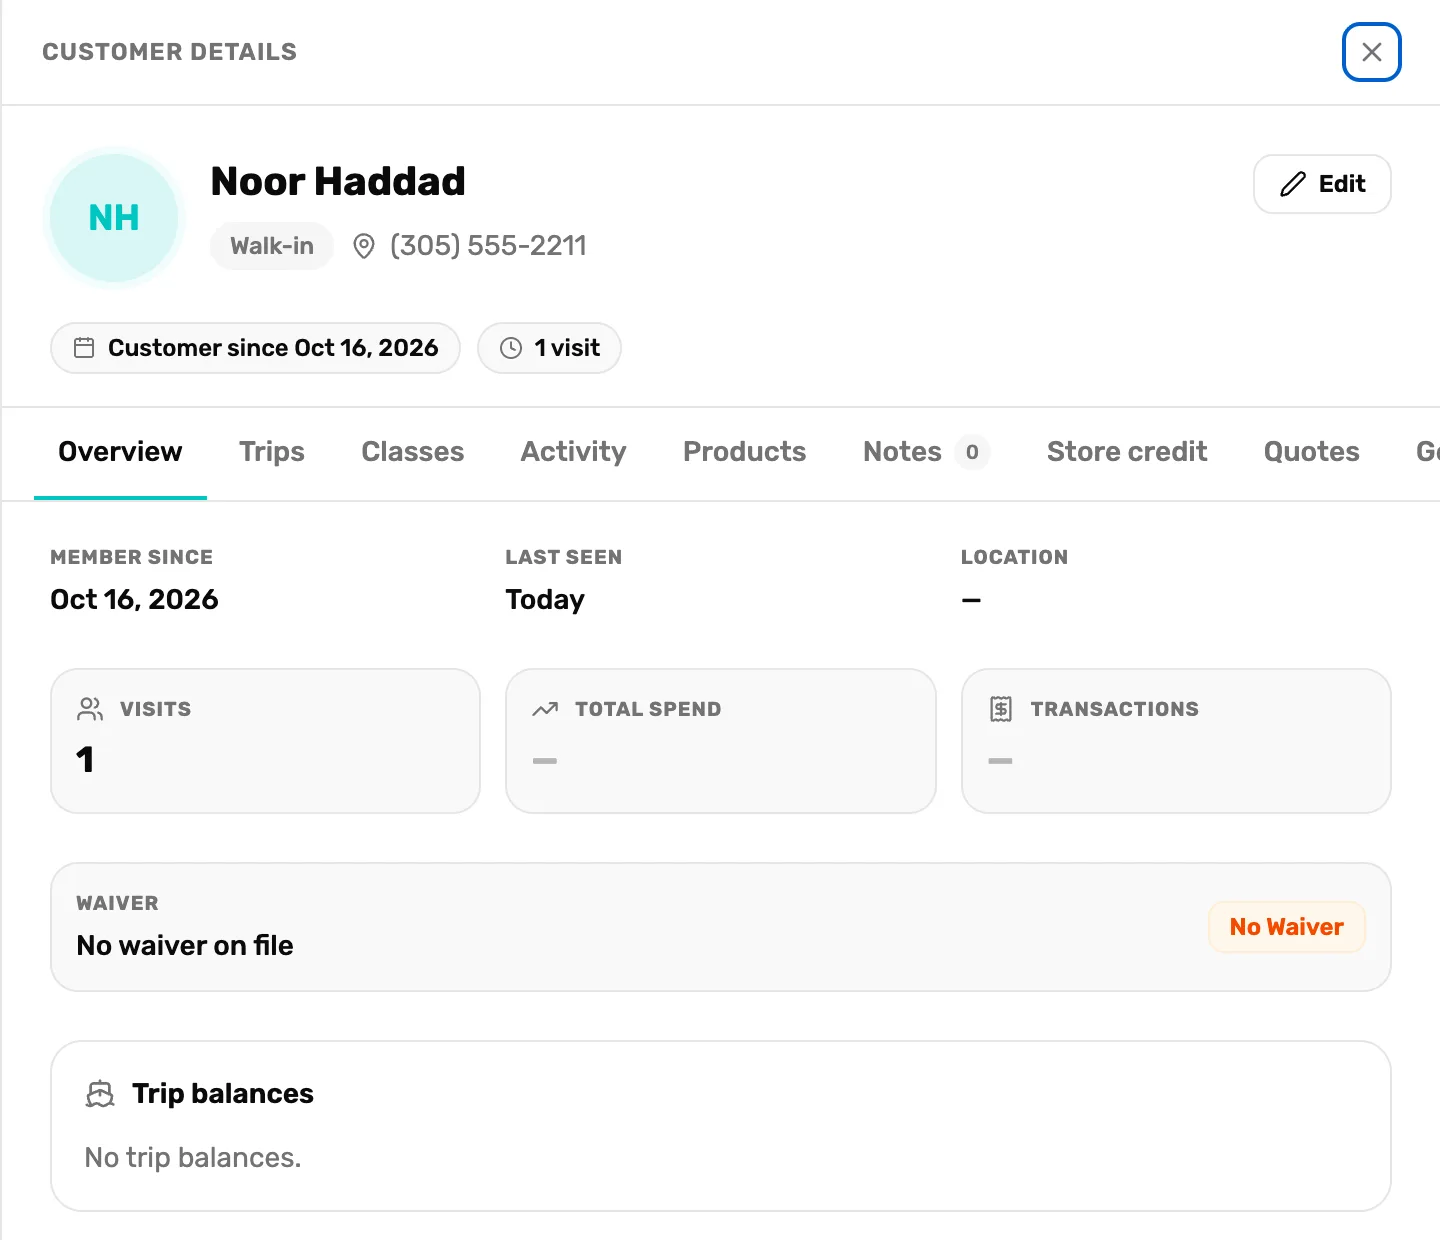
- Walk-in and their contact. A customer you added. When they set up their OneDive profile, this changes to OneDive member.
- Visits. Counts each time this person is added as your customer. Picking them from a search doesn't change it.
- Edit. Fix the name, phone or email, or add more details. See step 4.
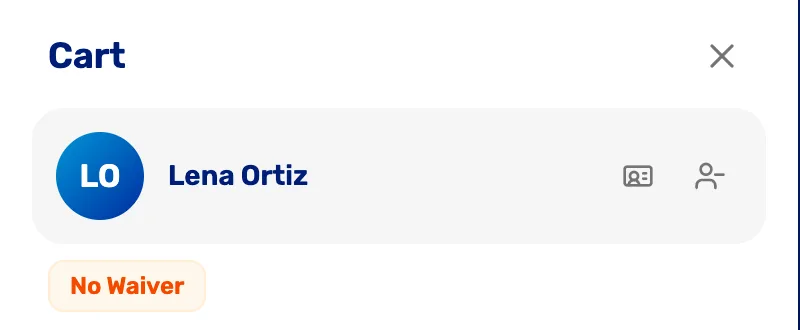
- At the register. The new customer's cart is open on the right. Add items and check out as usual.
Add more details later, if you want
The new customer form asks only for what you need at the counter. To add a date of birth or where they live, open the customer on the Customers page and tap Edit.
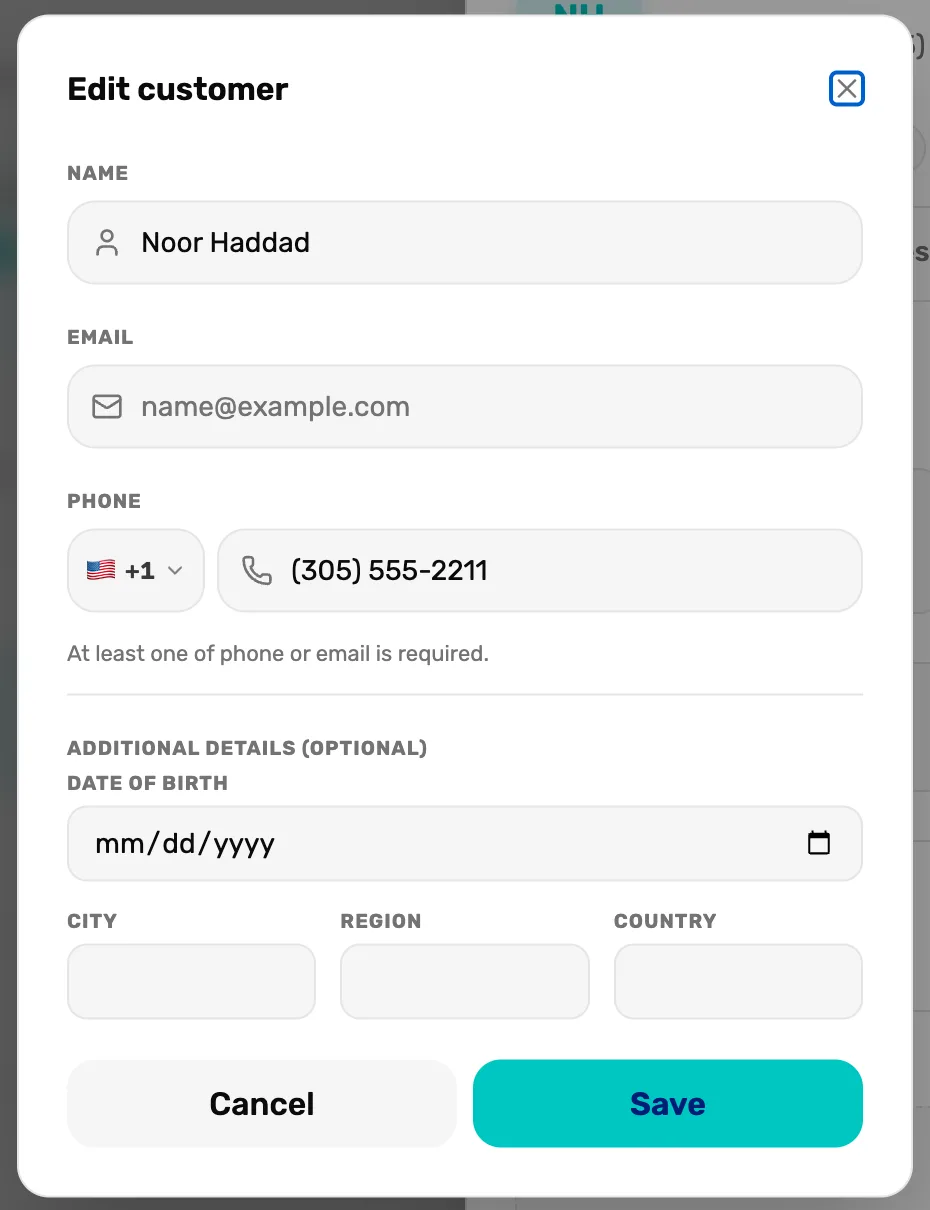
- Name. One box for the whole name here.
- Additional details (optional). Date of birth, city, region and country. The city and region show as the customer's location.
- Save. Saves the changes. You still need a phone or an email.
Adding someone twice
OneDive checks the phone number and email before it makes anyone new.
- Same email or phone as one of your customers: no second record is made. Their details open (or their cart, at the register) and their visit count goes up by one. The name you typed is not saved over theirs.
- Same email or phone as someone already on OneDive who isn't your customer yet: they become your customer, and their profile stays private until they agree to share it. See A customer who is already on OneDive.
- A phone number that more than one person on OneDive uses: OneDive can't tell who you mean, so it makes a new customer.
A name alone is never matched. Two different people called Sam Ortiz stay two customers, so search by phone or email when you aren't sure.
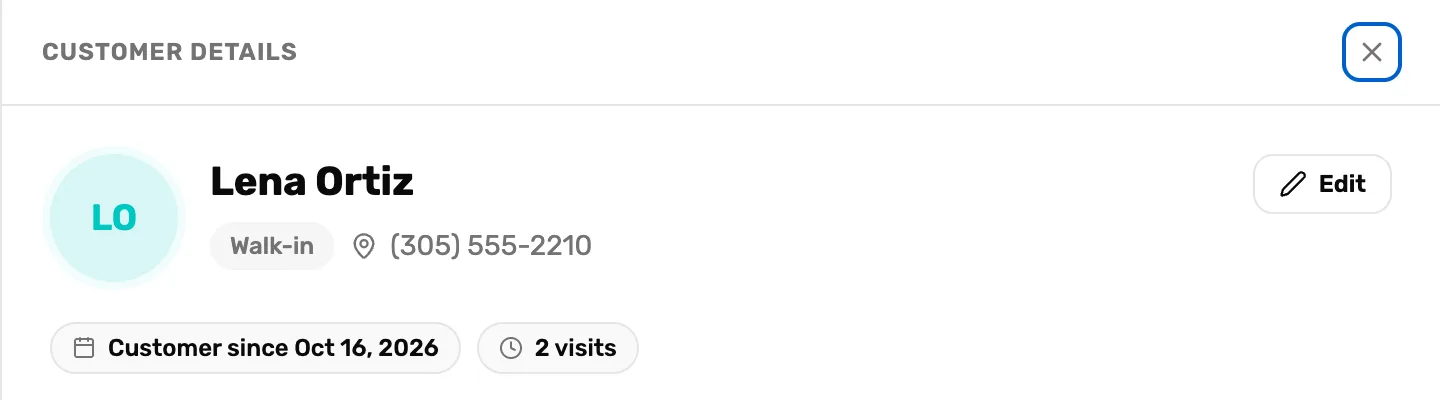
- 2 visits. Lena was added again with her phone number and a different last name. Her record opened, her name stayed the same, and her visits went from 1 to 2.
If your plan's customer limit is reached
The Free plan includes a set number of customers. When you reach your plan's limit, the form shows a message that you've used all the customers your plan includes, and This sale can continue as a guest checkout. Tap Continue as guest to finish the sale without a customer, or Upgrade to Plus to go to Subscription & Billing. Customers you already have keep working.
What happens next
- The customer is in your list on the Customers page. Tap them to see everything about them: the customer drawer, tab by tab.
- To put a customer on a sale, see Attach a customer and their waiver.